INTRODUCTION
Creating a fun drawstring bag could not
be any easier! These bags are as easy as
they are fun. They are created completely
in the hoop. With only two quick steps
of decorative embroidery, you'll be on to
starting your next bag as soon as possible.
The best part about this project is it can be
done so quickly. You will have plenty of time
to pack each bag with your favorite goodies.
It takes two hoopings to make a bag this nice! The
drawstring bags are a 2 part project. First, the
back of the bag is made, and then removed from
the hoop and set aside. Next, the front is created,
repeating the same steps and then adding the
appliqué and design. The last step puts the two
pieces together, completing your bag.
Creating the channel for the drawstring is built into
the design. In step 2, as you trim and fold the tabs,
you are making the openings for the drawstring.
Two steps later, the channel is made by folding the
base fabric and then tacking it down.
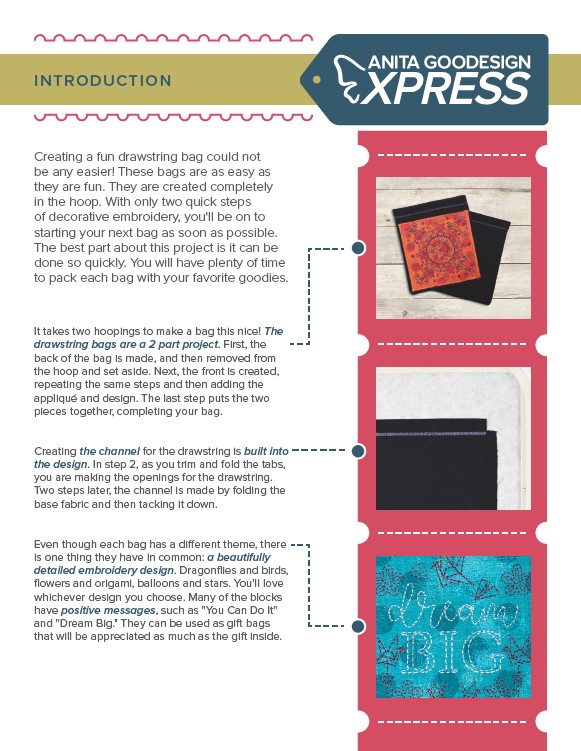
Even though each bag has a different theme, there
is one thing they have in common: a beautifully
detailed embroidery design. Dragonflies and birds,
flowers and origami, balloons and stars. You'll love
whichever design you choose. Many of the blocks
have positive messages, such as "You Can Do It"
and "Dream Big." They can be used as gift bags
that will be appreciated as much as the gift inside.