WRAPPED FRAME
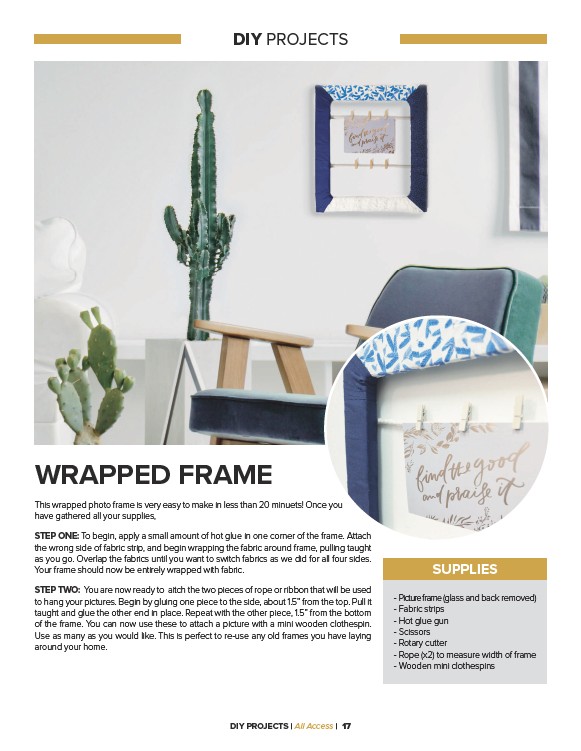
This wrapped photo frame is very easy to make in less than 20 minuets! Once you
have gathered all your supplies,
STEP ONE: To begin, apply a small amount of hot glue in one corner of the frame. Attach
the wrong side of fabric strip, and begin wrapping the fabric around frame, pulling taught
as you go. Overlap the fabrics until you want to switch fabrics as we did for all four sides.
Your frame should now be entirely wrapped with fabric.
STEP TWO: You are now ready to aitch the two pieces of rope or ribbon that will be used
to hang your pictures. Begin by gluing one piece to the side, about 1.5” from the top. Pull it
taught and glue the other end in place. Repeat with the other piece, 1.5” from the bottom
of the frame. You can now use these to attach a picture with a mini wooden clothespin.
Use as many as you would like. This is perfect to re-use any old frames you have laying
around your home.
DIY PROJECTS | All Access | 17
SUPPLIES
- Picture frame (glass and back removed)
- Fabric strips
- Hot glue gun
- Scissors
- Rotary cutter
- Rope (x2) to measure width of frame
- Wooden mini clothespins
DIY PROJECTS