STEP-BY-STEP INSTRUCTIONS
STEP M
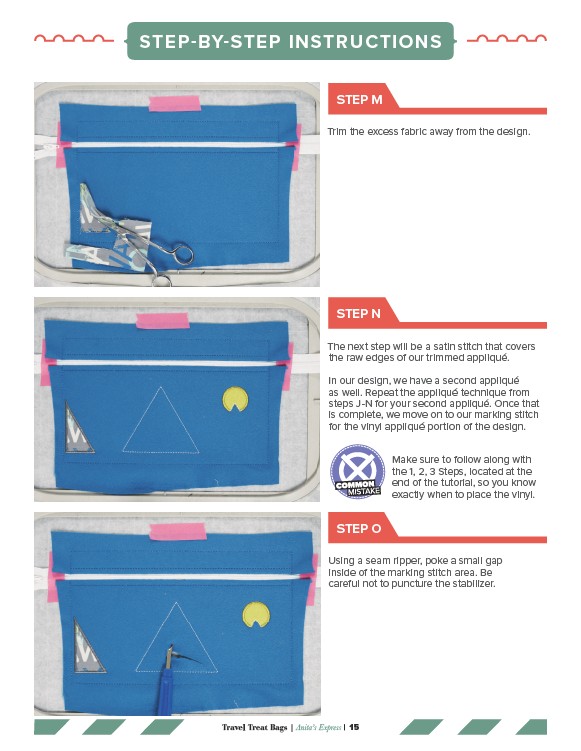
Trim the excess fabric away from the design.
STEP N
The next step will be a satin stitch that covers
the raw edges of our trimmed appliqué.
In our design, we have a second appliqué
as well. Repeat the appliqué technique from
steps J-N for your second appliqué. Once that
is complete, we move on to our marking stitch
for the vinyl appliqué portion of the design.
STEP O
Using a seam ripper, poke a small gap
inside of the marking stitch area. Be
careful not to puncture the stabilizer.
Travel Treat Bags | Anita’s Express | 15
Make sure to follow along with
the 1, 2, 3 Steps, located at the
end of the tutorial, so you know
exactly when to place the vinyl.