STEP-BY-STEP INSTRUCTIONS
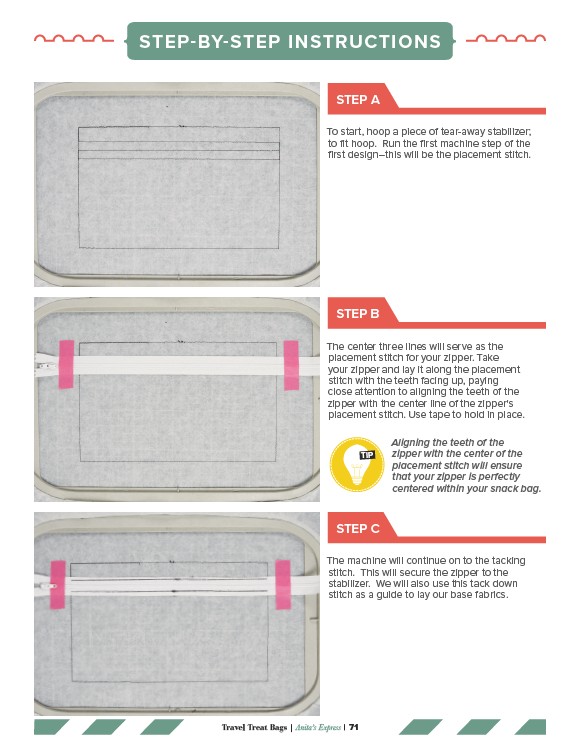
STEP A
To start, hoop a piece of tear-away stabilizer;
to fit hoop. Run the first machine step of the
first design–this will be the placement stitch.
STEP B
The center three lines will serve as the
placement stitch for your zipper. Take
your zipper and lay it along the placement
stitch with the teeth facing up, paying
close attention to aligning the teeth of the
zipper with the center line of the zipper's
placement stitch. Use tape to hold in place.
STEP C
The machine will continue on to the tacking
stitch. This will secure the zipper to the
stabilizer. We will also use this tack down
stitch as a guide to lay our base fabrics.
Travel Treat Bags | Anita’s Express | 71
Aligning the teeth of the
zipper with the center of the
placement stitch will ensure
that your zipper is perfectly
centered within your snack bag.
TIP