NAUI Advanced Scuba Diver
92 Underwater Photography
because a smaller aperture can be used. The relationship
between the aperture setting and the area in front of the
camera in which subjects will be in focus will also be
explained in your specialty course. For now, recognize
that there is a limited range of focus for underwater photography
and that you will need to know this range when
taking pictures during your
introductory dive.
So far you have learned that there are several ways
to control the amount of light reaching the sensor or
film. For your introductory dive you will probably be
provided with a camera system that is set up to produce
best results at a given distance, so all you will need to do
is concentrate on keeping the camera steady and composing
a pleasing picture. This leads us to the subject
of composition, the remaining ingredient required for
a good photograph. As with the other topics presented
thus far, there is a great deal to consider regarding the
composition of a photograph, but we will share just a
couple of basic concepts for your immediate use on your
introductory dive.
As you view a scene to be photographed, imagine the
area seen in the LCD view panel or viewfinder as being
divided into three equal parts vertically and horizontally.
Rather than placing the point or points of interest in the
exact center of your picture, try to position them at one of
the four intersecting points in your imaginary grid. This
simple rule will help you achieve much more pleasing
results than that of “bulls-eye” shots typical of beginning
photographers.
Remember that the image format is rectangular,
that is, it’s longer than it is high, so remember that the
camera can be rotated 90 degrees to better compose vertical
pictures for long, vertical subjects. It is often a good
idea to shoot both horizontal and vertical shots of an
exceptional subject. When you photograph a single diver
alone, you will usually want a vertical shot (figure 9-6).
If you are using a film camera, you will have to
select your photos so you do not use up the whole roll too
quickly. With a digital camera, this is not a concern, so
take several pictures, varying composition and exposure.
You can select the best later. On the other hand, a digital
camera has a lag time between your pushing the shutter
button and the image actually being recorded on the sensor.
Depending on the camera, this may be longer than a
full second. If you are photographing a fish or anything
moving, try to anticipate this lag time.
PICTURE-TAKING TECHNIQUES
We have already mentioned that the gear must be
properly handled. Your instructor will show you how
to hold and handle the camera system. Remember that
underwater photographic equipment is expensive and rather
delicate, so please, treat it that way. Resist the temptation
to twist or turn things that you don’t understand. Don’t
force any controls that you have been instructed to use, but
for some reason do not work easily. Rather than force anything,
let the instructor examine the problem and correct it
if possible. Treat the gear with loving care!
You may not have to hold the strobe or aim it for the
pictures you take on your first photo dive, but if you do,
remember the problems with estimating distance underwater
and point the strobe slightly beyond the
subject in order to get the light onto it. Otherwise, you
may have the light pass in front of the subject as you
point it at the apparent image instead of where the
subject actually is.
To reduce backscatter, hold the strobe away from the
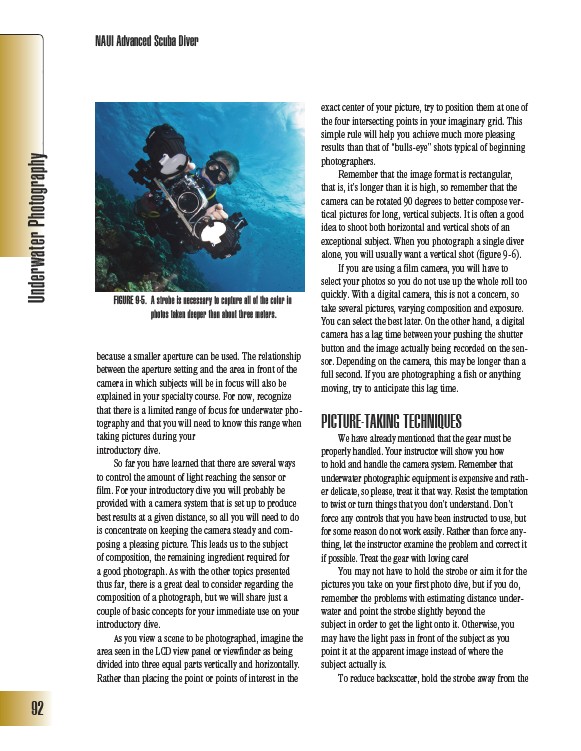
FIGURE 9-5. A strobe is necessary to capture all of the color in
photos taken deeper than about three meters.