C R E AT I N G A W I N D OW
Trying to visualize what an area of fabric will
actually look like once you fussy cut it? Follow this
tutorial using the given PDFs to create a triangular
window from card stock. Move it across your fabric
to find the perfect area for your snowflake crosssection,
then play away!
1 2
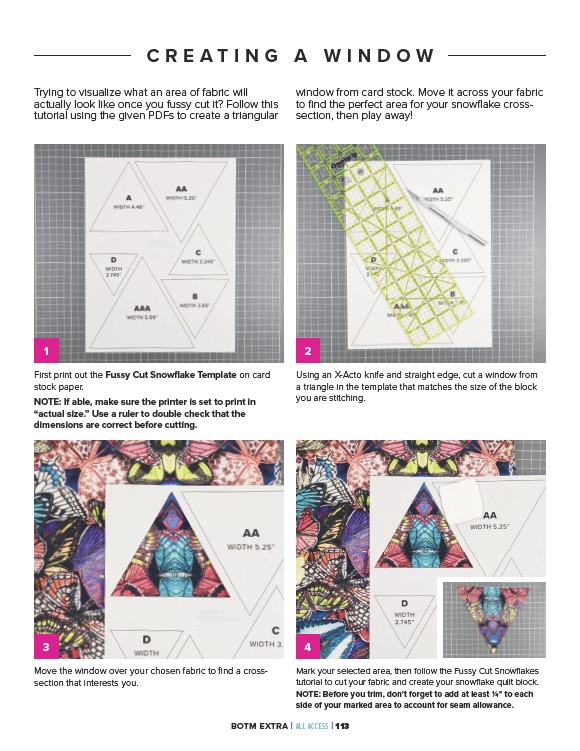
First print out the Fussy Cut Snowflake Template on card
stock paper.
NOTE: If able, make sure the printer is set to print in
“actual size.” Use a ruler to double check that the
dimensions are correct before cutting.
3 4
Move the window over your chosen fabric to find a crosssection
BOTM EXTRA | ALL ACCESS | 113
that interests you.
Using an X-Acto knife and straight edge, cut a window from
a triangle in the template that matches the size of the block
you are stitching.
Mark your selected area, then follow the Fussy Cut Snowflakes
tutorial to cut your fabric and create your snowflake quilt block.
NOTE: Before you trim, don’t forget to add at least 1⁄4” to each
side of your marked area to account for seam allowance.