STEP-BY-STEP INSTRUCTIONS
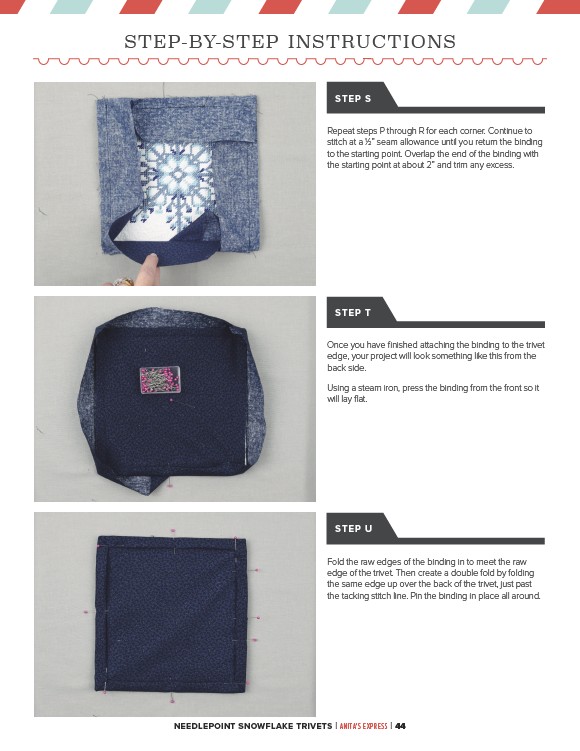
STEP S
Repeat steps P through R for each corner. Continue to
stitch at a 1⁄2” seam allowance until you return the binding
to the starting point. Overlap the end of the binding with
the starting point at about 2” and trim any excess.
STEP T
Once you have finished attaching the binding to the trivet
edge, your project will look something like this from the
back side.
Using a steam iron, press the binding from the front so it
will lay flat.
STEP U
Fold the raw edges of the binding in to meet the raw
edge of the trivet. Then create a double fold by folding
the same edge up over the back of the trivet, just past
the tacking stitch line. Pin the binding in place all around.
NEEDLEPOINT SNOWFLAKE TRIVETS | ANITA'S EXPRESS | 44