FINISHING YOUR TILE SCENE
STEP-BY-STEP INSTRUCTIONS
A B
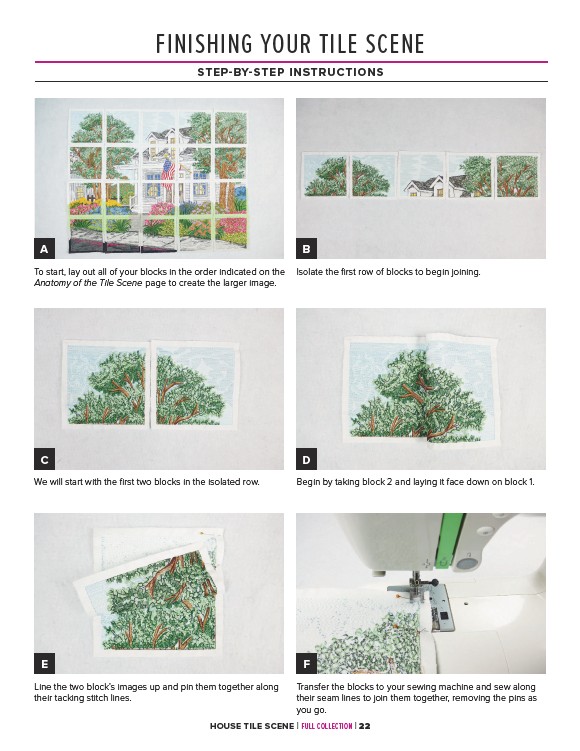
Isolate the first row of blocks to begin joining.
To start, lay out all of your blocks in the order indicated on the
Anatomy of the Tile Scene page to create the larger image.
C D
We will start with the first two blocks in the isolated row. Begin by taking block 2 and laying it face down on block 1.
E F
Line the two block’s images up and pin them together along
their tacking stitch lines.
Transfer the blocks to your sewing machine and sew along
their seam lines to join them together, removing the pins as
you go.
HOUSE TILE SCENE | FULL COLLECTION | 22