MIX & MASHUP | ALL ACCESS | 158
CREATE THE SIDES.
To create you recipe box,
you’ll need to stitch out the
side panels. Included with
this project are five files to
create all the components
of the box. The front, back,
sides, and bottom of the
box are stitched out on your
embroidery machine using
the same technique as
standard quilt blocks.
STITCH THE TOP.
The fifth file that you’ll need
to stitch is the top of the box.
It looks a bit different than the
other files since you’ll need
to be able to open and close
the top easily. Constructed as
a freestanding component,
the top has a satin stitch
around all four sides to give it
a clean finished edge, but has
some excess fabric hanging
off the top that will serve as a
seam allowance and “hinge.”
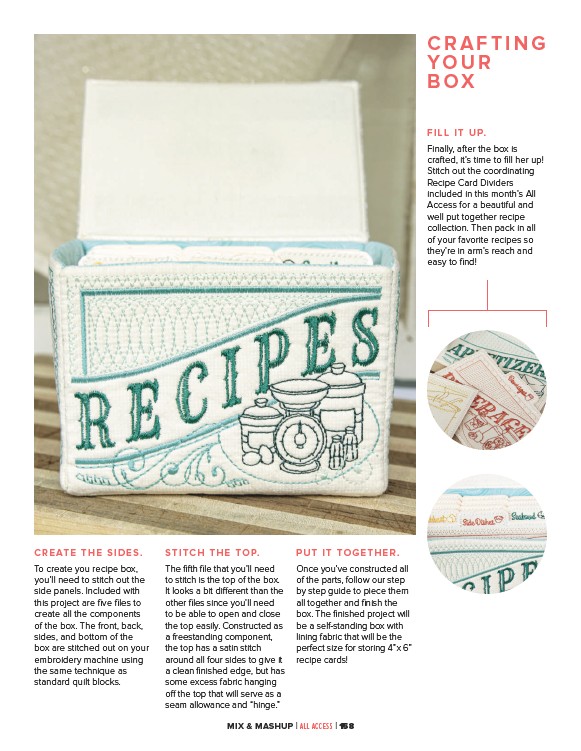
PUT IT TOGETHER.
Once you’ve constructed all
of the parts, follow our step
by step guide to piece them
all together and finish the
box. The finished project will
be a self-standing box with
lining fabric that will be the
perfect size for storing 4”x 6”
recipe cards!
CRAFTING
YOUR
BOX
FILL IT UP.
Finally, after the box is
crafted, it’s time to fill her up!
Stitch out the coordinating
Recipe Card Dividers
included in this month’s All
Access for a beautiful and
well put together recipe
collection. Then pack in all
of your favorite recipes so
they’re in arm’s reach and
easy to find!