ANATOMY OF THE DESIGN
TWO PARTS IN A WHOLE
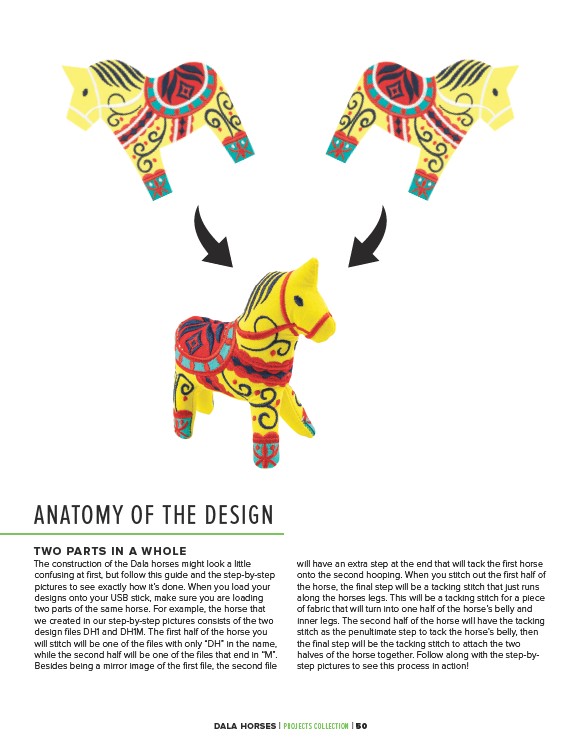
The construction of the Dala horses might look a little
confusing at first, but follow this guide and the step-by-step
pictures to see exactly how it’s done. When you load your
designs onto your USB stick, make sure you are loading
two parts of the same horse. For example, the horse that
we created in our step-by-step pictures consists of the two
design files DH1 and DH1M. The first half of the horse you
will stitch will be one of the files with only “DH” in the name,
while the second half will be one of the files that end in “M”.
Besides being a mirror image of the first file, the second file
will have an extra step at the end that will tack the first horse
onto the second hooping. When you stitch out the first half of
the horse, the final step will be a tacking stitch that just runs
along the horses legs. This will be a tacking stitch for a piece
of fabric that will turn into one half of the horse’s belly and
inner legs. The second half of the horse will have the tacking
stitch as the penultimate step to tack the horse’s belly, then
the final step will be the tacking stitch to attach the two
halves of the horse together. Follow along with the step-bystep
pictures to see this process in action!
DALA HORSES | PROJECTS COLLECTION | 50