MIX & MASHUP | ALL ACCESS | 46
SIZE MATTERS.
When selecting your
Ladybug design, remember
to select a design with the
right dimensions. The C
size is the only size that can
be used for these pocket
designs, and the file you
stitch needs to be in a
portrait orientation. You can
select from the LDBG files
ending in 2, 4, 5, 6, 7, & 10.
CUT IT OUT.
The dimensions of your
fabrics are the next thing to
keep in mind. Your pocket
will need to be made out of a
piece of fabric that is 8” x 19”.
You’ll stitch the design on the
bottom half, and the top half
will be folded over to create
a folded edge and lining for
the pocket. Your apron will
be constructed from a 24” x
24” piece of fabric.
PUT IT ALL
TOGETHER.
Once you’ve got your
project planned and your
fabrics precut, you can begin
stitching and constructing your
adorable Ladybug Apron!
PREP
IT UP
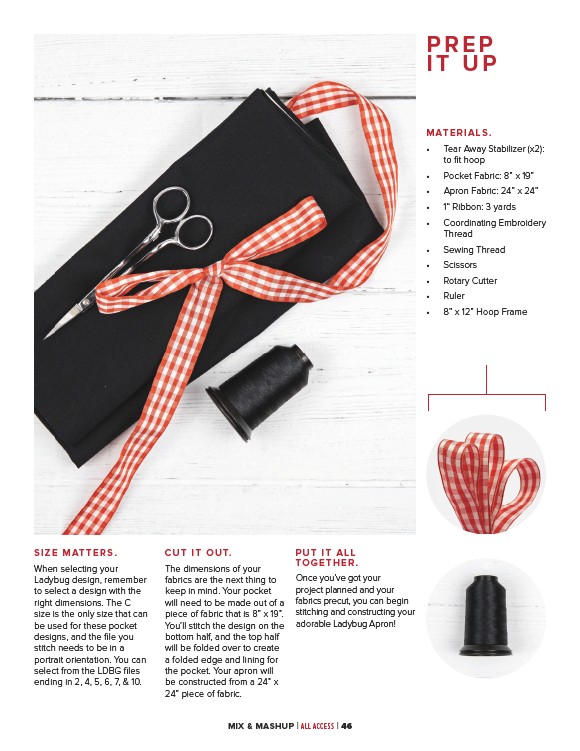
MATERIALS.
• Tear Away Stabilizer (x2):
to fit hoop
• Pocket Fabric: 8” x 19”
• Apron Fabric: 24” x 24”
• 1“ Ribbon: 3 yards
• Coordinating Embroidery
Thread
• Sewing Thread
• Scissors
• Rotary Cutter
• Ruler
• 8” x 12” Hoop Frame