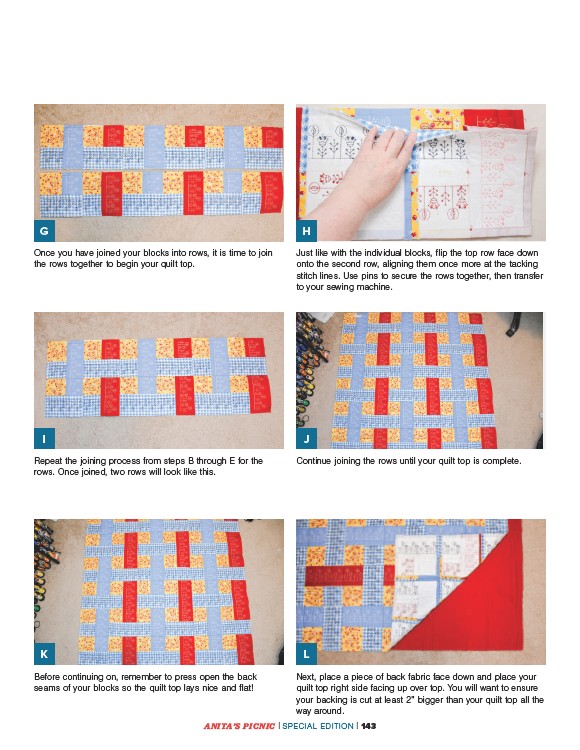
G H
Once you have joined your blocks into rows, it is time to join
the rows together to begin your quilt top.
I J
Repeat the joining process from steps B through E for the
rows. Once joined, two rows will look like this.
K L
Before continuing on, remember to press open the back
seams of your blocks so the quilt top lays nice and flat!
Just like with the individual blocks, flip the top row face down
onto the second row, aligning them once more at the tacking
stitch lines. Use pins to secure the rows together, then transfer
to your sewing machine.
Continue joining the rows until your quilt top is complete.
Next, place a piece of back fabric face down and place your
quilt top right side facing up over top. You will want to ensure
your backing is cut at least 2” bigger than your quilt top all the
way around.
ANITA’S PICNIC | SPECIAL EDITION | 143