PERFECTLY POINTY PENNANT CRAZY FOR CONFETTTI
In this month’s release, Confetti Vinyl Appliqué, we showed
you how we used the designs to create one-of-a-kind
confetti masterpieces.
This DIY with Anita project will teach you how to use any
of the C-sized designs from that collection and create a
pennant flag featuring the design. We’ll provide dimensions
for the pennant flag, show you how to situate the design
in the embroidery hoop, as well as construct a backed and
bound pennant flag.
After assembling the pennant flag’s backing and binding, we wanted to fill the blank space
around the design. To do this, we used the ever-nostalgic 90’s confetti as inspiration.
While choosing materials that coordinate with the existing color palette, we cut shapes that
resemble the 90’s confetti shapes. Be creative and don’t be afraid to try something new!
Try decorating the open space with a few cute buttons, pom poms, fringe, or even tassels!
DIY WITH ANITA | ALL ACCESS | 248
LEAVE NO
BLANK SPACE
LEFT UNTOUCHED
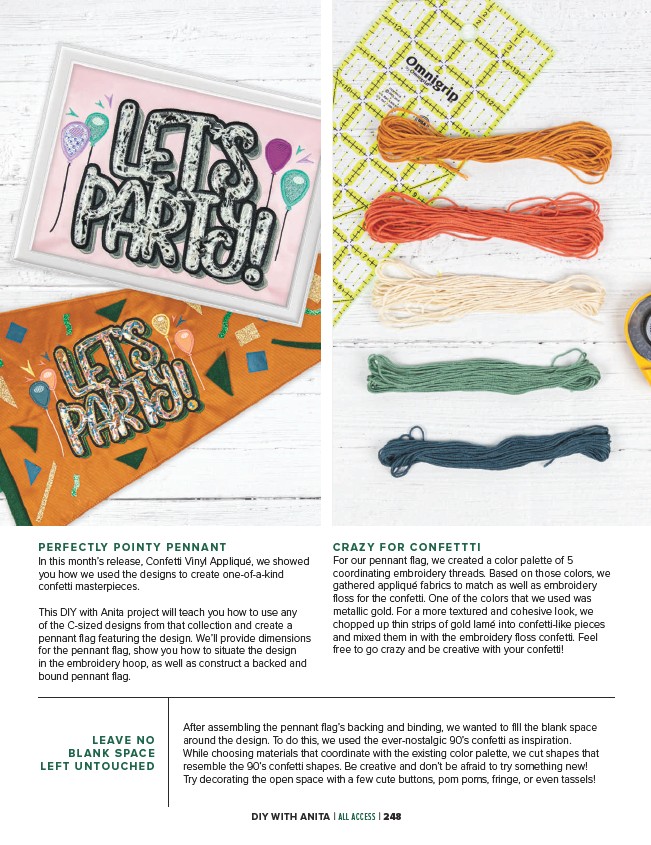
For our pennant flag, we created a color palette of 5
coordinating embroidery threads. Based on those colors, we
gathered appliqué fabrics to match as well as embroidery
floss for the confetti. One of the colors that we used was
metallic gold. For a more textured and cohesive look, we
chopped up thin strips of gold lamé into confetti-like pieces
and mixed them in with the embroidery floss confetti. Feel
free to go crazy and be creative with your confetti!