This tutorial will show you exactly how to construct one
of these pearly-whites all in-the-hoop of your embroidery
machine. Once you get wind that a tooth is beginning to
wiggle around, this project is so quick to complete that you’ll
have it done in no time at all! Not only will this tutorial teach
you how to complete one of your own, it also leaves you with
a finished product that opens the door to important lessons
for kids to learn. Use your finished pillow to teach them about
the Tooth Fairy, saving money, or even how to clean their
teeth properly!
PEARLY WHITES
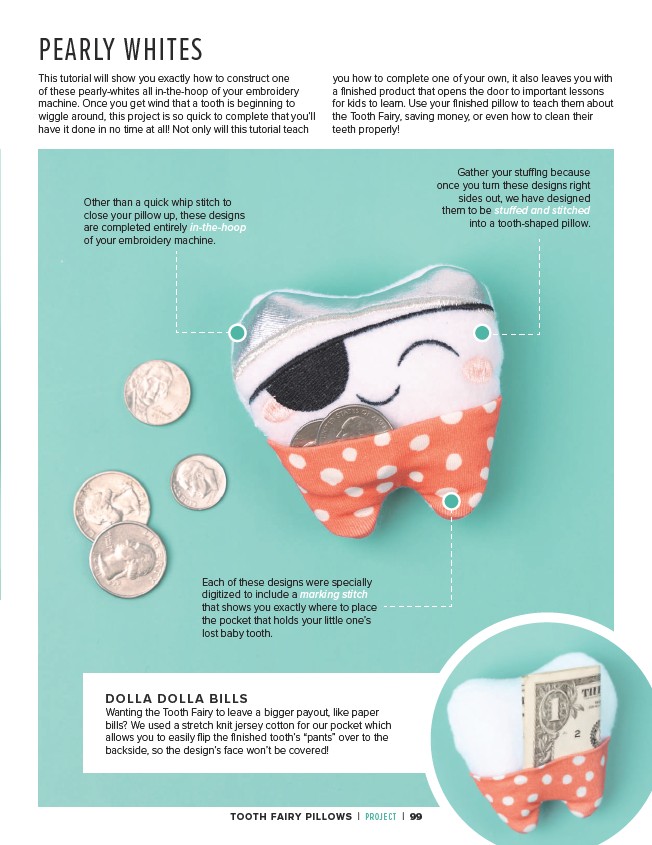
Gather your stuffing because
once you turn these designs right
sides out, we have designed
them to be stuffed and stitched
into a tooth-shaped pillow.
Other than a quick whip stitch to
close your pillow up, these designs
are completed entirely in-the-hoop
of your embroidery machine.
Each of these designs were specially
digitized to include a marking stitch
that shows you exactly where to place
the pocket that holds your little one’s
lost baby tooth.
DOLLA DOLLA BILLS
Wanting the Tooth Fairy to leave a bigger payout, like paper
bills? We used a stretch knit jersey cotton for our pocket which
allows you to easily flip the finished tooth’s “pants” over to the
backside, so the design’s face won’t be covered!
TOOTH FAIRY PILLOWS | PROJECT | 99