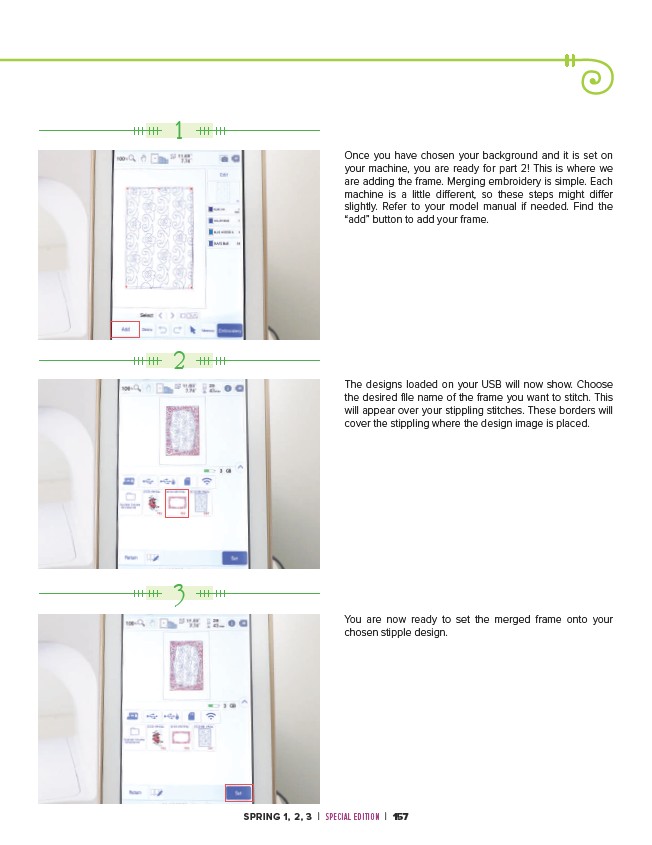
Once you have chosen your background and it is set on
your machine, you are ready for part 2! This is where we
are adding the frame. Merging embroidery is simple. Each
machine is a little different, so these steps might differ
slightly. Refer to your model manual if needed. Find the
“add” button to add your frame.
The designs loaded on your USB will now show. Choose
the desired file name of the frame you want to stitch. This
will appear over your stippling stitches. These borders will
cover the stippling where the design image is placed.
You are now ready to set the merged frame onto your
chosen stipple design.
SPRING 1, 2, 3 | SPECIAL EDITION | 157
1
2
3