To create your Peek-A-Boo embroidery design, you’ll need
two design files that will be stitched in two hoopings. The
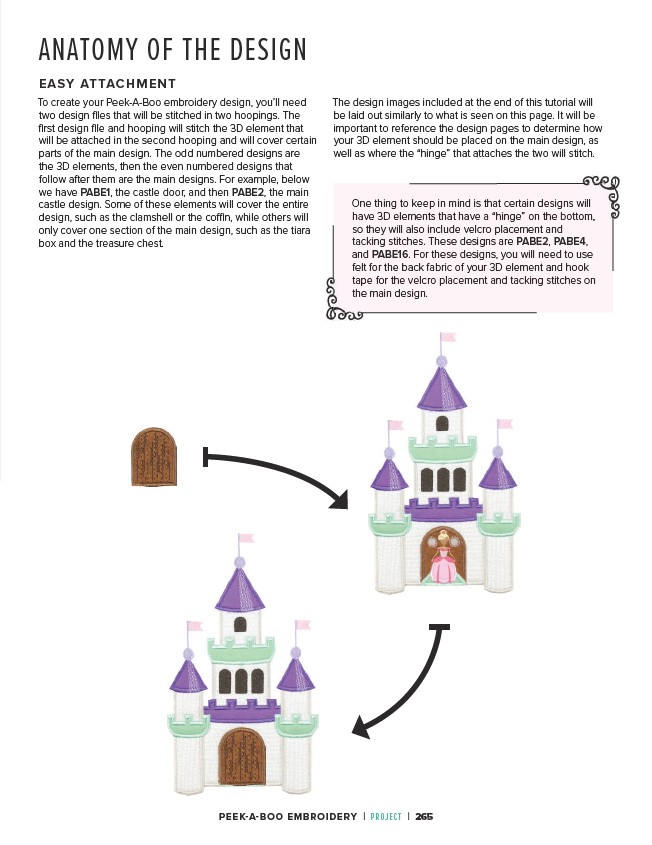
first design file and hooping will stitch the 3D element that
will be attached in the second hooping and will cover certain
parts of the main design. The odd numbered designs are
the 3D elements, then the even numbered designs that
follow after them are the main designs. For example, below
we have PABE1, the castle door, and then PABE2, the main
castle design. Some of these elements will cover the entire
design, such as the clamshell or the coffin, while others will
only cover one section of the main design, such as the tiara
box and the treasure chest.
The design images included at the end of this tutorial will
be laid out similarly to what is seen on this page. It will be
important to reference the design pages to determine how
your 3D element should be placed on the main design, as
well as where the “hinge” that attaches the two will stitch.
ANATOMY OF THE DESIGN
EASY ATTACHMENT
One thing to keep in mind is that certain designs will
have 3D elements that have a “hinge” on the bottom,
so they will also include velcro placement and
tacking stitches. These designs are PABE2, PABE4,
and PABE16. For these designs, you will need to use
felt for the back fabric of your 3D element and hook
tape for the velcro placement and tacking stitches on
the main design.
tap
the
om,
PEEK-A-BOO EMBROIDERY | PROJECT | 265