I J
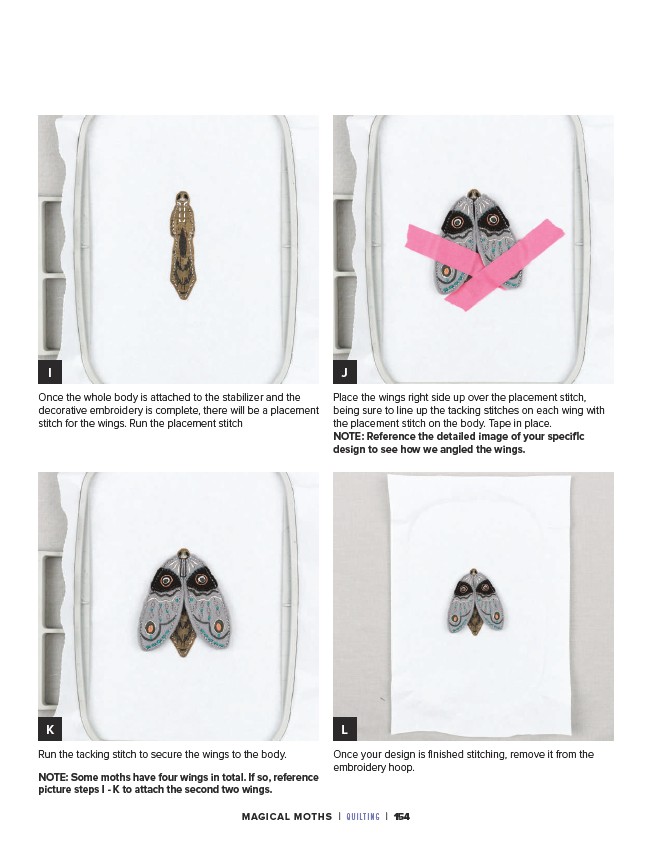
Place the wings right side up over the placement stitch,
being sure to line up the tacking stitches on each wing with
the placement stitch on the body. Tape in place.
NOTE: Reference the detailed image of your specific
design to see how we angled the wings.
K L
Run the tacking stitch to secure the wings to the body.
NOTE: Some moths have four wings in total. If so, reference
picture steps I - K to attach the second two wings.
Once your design is finished stitching, remove it from the
embroidery hoop.
Once the whole body is attached to the stabilizer and the
decorative embroidery is complete, there will be a placement
stitch for the wings. Run the placement stitch
MAGICAL MOTHS | QUILTING | 154