STEPS | ALL ACCESS | 253
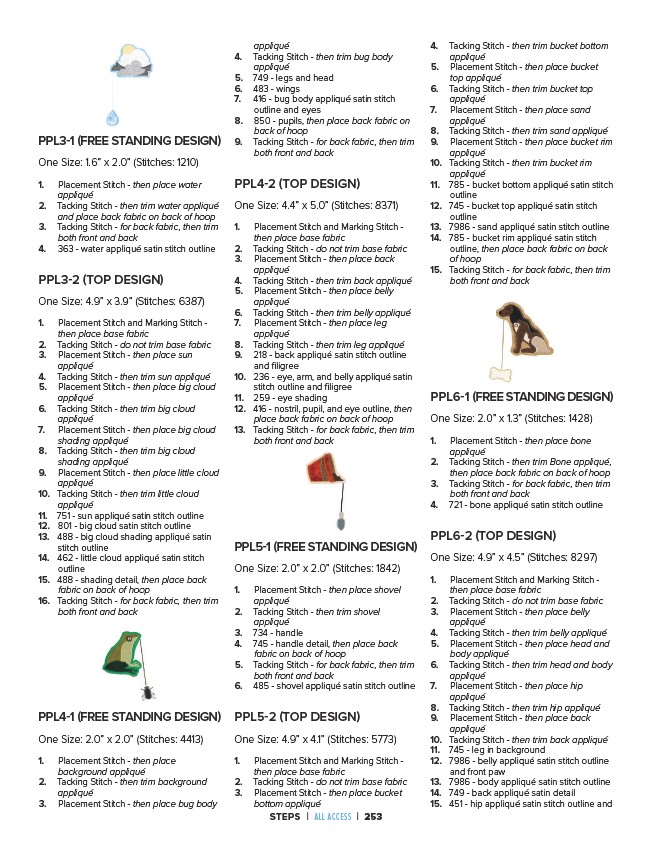
PPL3-1 (FREE STANDING DESIGN)
One Size: 1.6” x 2.0” (Stitches: 1210)
1. Placement Stitch - then place water
appliqué
2. Tacking Stitch - then trim water appliqué
and place back fabric on back of hoop
3. Tacking Stitch - for back fabric, then trim
both front and back
4. 363 - water appliqué satin stitch outline
PPL3-2 (TOP DESIGN)
One Size: 4.9” x 3.9” (Stitches: 6387)
1. Placement Stitch and Marking Stitch -
then place base fabric
2. Tacking Stitch - do not trim base fabric
3. Placement Stitch - then place sun
appliqué
4. Tacking Stitch - then trim sun appliqué
5. Placement Stitch - then place big cloud
appliqué
6. Tacking Stitch - then trim big cloud
appliqué
7. Placement Stitch - then place big cloud
shading appliqué
8. Tacking Stitch - then trim big cloud
shading appliqué
9. Placement Stitch - then place little cloud
appliqué
10. Tacking Stitch - then trim little cloud
appliqué
11. 751 - sun appliqué satin stitch outline
12. 801 - big cloud satin stitch outline
13. 488 - big cloud shading appliqué satin
stitch outline
14. 462 - little cloud appliqué satin stitch
outline
15. 488 - shading detail, then place back
fabric on back of hoop
16. Tacking Stitch - for back fabric, then trim
both front and back
PPL4-1 (FREE STANDING DESIGN)
One Size: 2.0” x 2.0” (Stitches: 4413)
1. Placement Stitch - then place
background appliqué
2. Tacking Stitch - then trim background
appliqué
3. Placement Stitch - then place bug body
appliqué
4. Tacking Stitch - then trim bug body
appliqué
5. 749 - legs and head
6. 483 - wings
7. 416 - bug body appliqué satin stitch
outline and eyes
8. 850 - pupils, then place back fabric on
back of hoop
9. Tacking Stitch - for back fabric, then trim
both front and back
PPL4-2 (TOP DESIGN)
One Size: 4.4” x 5.0” (Stitches: 8371)
1. Placement Stitch and Marking Stitch -
then place base fabric
2. Tacking Stitch - do not trim base fabric
3. Placement Stitch - then place back
appliqué
4. Tacking Stitch - then trim back appliqué
5. Placement Stitch - then place belly
appliqué
6. Tacking Stitch - then trim belly appliqué
7. Placement Stitch - then place leg
appliqué
8. Tacking Stitch - then trim leg appliqué
9. 218 - back appliqué satin stitch outline
and filigree
10. 236 - eye, arm, and belly appliqué satin
stitch outline and filigree
11. 259 - eye shading
12. 416 - nostril, pupil, and eye outline, then
place back fabric on back of hoop
13. Tacking Stitch - for back fabric, then trim
both front and back
PPL5-1 (FREE STANDING DESIGN)
One Size: 2.0” x 2.0” (Stitches: 1842)
1. Placement Stitch - then place shovel
appliqué
2. Tacking Stitch - then trim shovel
appliqué
3. 734 - handle
4. 745 - handle detail, then place back
fabric on back of hoop
5. Tacking Stitch - for back fabric, then trim
both front and back
6. 485 - shovel appliqué satin stitch outline
PPL5-2 (TOP DESIGN)
One Size: 4.9” x 4.1” (Stitches: 5773)
1. Placement Stitch and Marking Stitch -
then place base fabric
2. Tacking Stitch - do not trim base fabric
3. Placement Stitch - then place bucket
bottom appliqué
4. Tacking Stitch - then trim bucket bottom
appliqué
5. Placement Stitch - then place bucket
top appliqué
6. Tacking Stitch - then trim bucket top
appliqué
7. Placement Stitch - then place sand
appliqué
8. Tacking Stitch - then trim sand appliqué
9. Placement Stitch - then place bucket rim
appliqué
10. Tacking Stitch - then trim bucket rim
appliqué
11. 785 - bucket bottom appliqué satin stitch
outline
12. 745 - bucket top appliqué satin stitch
outline
13. 7986 - sand appliqué satin stitch outline
14. 785 - bucket rim appliqué satin stitch
outline, then place back fabric on back
of hoop
15. Tacking Stitch - for back fabric, then trim
both front and back
PPL6-1 (FREE STANDING DESIGN)
One Size: 2.0” x 1.3” (Stitches: 1428)
1. Placement Stitch - then place bone
appliqué
2. Tacking Stitch - then trim Bone appliqué,
then place back fabric on back of hoop
3. Tacking Stitch - for back fabric, then trim
both front and back
4. 721 - bone appliqué satin stitch outline
PPL6-2 (TOP DESIGN)
One Size: 4.9” x 4.5” (Stitches: 8297)
1. Placement Stitch and Marking Stitch -
then place base fabric
2. Tacking Stitch - do not trim base fabric
3. Placement Stitch - then place belly
appliqué
4. Tacking Stitch - then trim belly appliqué
5. Placement Stitch - then place head and
body appliqué
6. Tacking Stitch - then trim head and body
appliqué
7. Placement Stitch - then place hip
appliqué
8. Tacking Stitch - then trim hip appliqué
9. Placement Stitch - then place back
appliqué
10. Tacking Stitch - then trim back appliqué
11. 745 - leg in background
12. 7986 - belly appliqué satin stitch outline
and front paw
13. 7986 - body appliqué satin stitch outline
14. 749 - back appliqué satin detail
15. 451 - hip appliqué satin stitch outline and