STEPS | ALL ACCESS | 254
filigree
16. 900 - nose and ear
17. 900 - eye, then place back fabric on
back of hoop
18. Tacking Stitch - for back fabric, then trim
both front and back
PPL7-1 (FREE STANDING DESIGN)
One Size: 2.0” x 2.0” (Stitches: 1210)
1. Placement Stitch - then place water
appliqué
2. Tacking Stitch - then trim water appliqué
and place back fabric on back of hoop
3. Tacking Stitch - for back fabric, then trim
both front and back
4. 369 - water appliqué satin stitch outline
PPL7-2 (TOP DESIGN)
One Size: 4.9” x 4.2” (Stitches: 8474)
1. Placement Stitch and Marking Stitch -
then place base fabric
2. Tacking Stitch - do not trim base fabric
3. Placement Stitch - then place watering
can appliqué
4. Tacking Stitch - then trim watering can
appliqué
5. Placement Stitch - then place spout and
top appliqué
6. Tacking Stitch - then trim spout and cap
appliqué
7. Placement Stitch - then place spicket
appliqué
8. Tacking Stitch - then trim spicket
appliqué
9. 654 - handle
10. 654 - watering can appliqué satin stitch
outline
11. 676 - shading inside the watering can
12. 101 - filigree and spicket appliqué satin
stitch outline
13. 676 - spout and top appliqué satin stitch
outline
14. 676 - spout element
15. 101 - flower
16. 654 - flower center, then place back
fabric on back of hoop
17. Tacking Stitch - for back fabric, then trim
both front and back
PPL8-1 (FREE STANDING DESIGN)
One Size: 1.3” x 2.0” (Stitches: 1235)
1. Placement Stitch - then place leaf
appliqué
2. Tacking Stitch - then trim leaf appliqué
and place back fabric on back of hoop
3. Tacking Stitch - for back fabric, then trim
both front and back
4. 2015 - leaf appliqué satin stitch outline
PPL8-2 (TOP DESIGN)
One Size: 4.9” x 3.5” (Stitches: 8882)
1. Placement Stitch and Marking Stitch -
then place base fabric
2. Tacking Stitch - do not trim base fabric
3. Placement Stitch - then place legs and
head appliqué
4. Tacking Stitch - then trim legs and head
appliqué
5. Placement Stitch - then place shell
appliqué
6. Tacking Stitch - then trim shell appliqué
7. Placement Stitch - then place spots
appliqué
8. Tacking Stitch - then trim spots appliqué
9. 743 - legs in background
10. 743 - neck
11. 251 - belly
12. 809 - legs and head appliqué satin
stitch outline
13. 249 - shell appliqué satin stitch outline
14. 2015 - spots appliqué satin stitch outline
15. 900 - eye, then place back fabric on
back of hoop
16. Tacking Stitch - for back fabric, then trim
both front and back
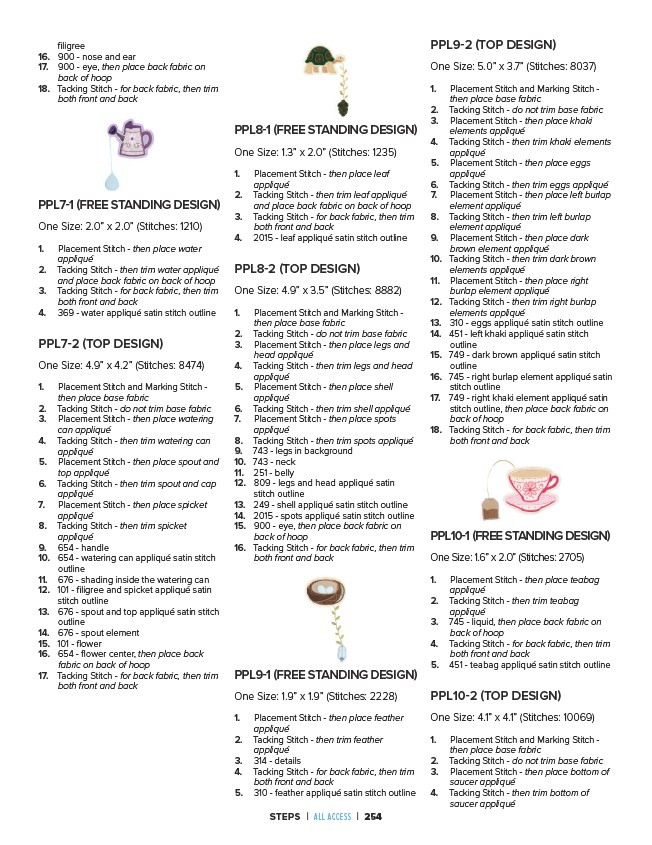
PPL9-1 (FREE STANDING DESIGN)
One Size: 1.9” x 1.9” (Stitches: 2228)
1. Placement Stitch - then place feather
appliqué
2. Tacking Stitch - then trim feather
appliqué
3. 314 - details
4. Tacking Stitch - for back fabric, then trim
both front and back
5. 310 - feather appliqué satin stitch outline
PPL9-2 (TOP DESIGN)
One Size: 5.0” x 3.7” (Stitches: 8037)
1. Placement Stitch and Marking Stitch -
then place base fabric
2. Tacking Stitch - do not trim base fabric
3. Placement Stitch - then place khaki
elements appliqué
4. Tacking Stitch - then trim khaki elements
appliqué
5. Placement Stitch - then place eggs
appliqué
6. Tacking Stitch - then trim eggs appliqué
7. Placement Stitch - then place left burlap
element appliqué
8. Tacking Stitch - then trim left burlap
element appliqué
9. Placement Stitch - then place dark
brown element appliqué
10. Tacking Stitch - then trim dark brown
elements appliqué
11. Placement Stitch - then place right
burlap element appliqué
12. Tacking Stitch - then trim right burlap
elements appliqué
13. 310 - eggs appliqué satin stitch outline
14. 451 - left khaki appliqué satin stitch
outline
15. 749 - dark brown appliqué satin stitch
outline
16. 745 - right burlap element appliqué satin
stitch outline
17. 749 - right khaki element appliqué satin
stitch outline, then place back fabric on
back of hoop
18. Tacking Stitch - for back fabric, then trim
both front and back
PPL10-1 (FREE STANDING DESIGN)
One Size: 1.6” x 2.0” (Stitches: 2705)
1. Placement Stitch - then place teabag
appliqué
2. Tacking Stitch - then trim teabag
appliqué
3. 745 - liquid, then place back fabric on
back of hoop
4. Tacking Stitch - for back fabric, then trim
both front and back
5. 451 - teabag appliqué satin stitch outline
PPL10-2 (TOP DESIGN)
One Size: 4.1” x 4.1” (Stitches: 10069)
1. Placement Stitch and Marking Stitch -
then place base fabric
2. Tacking Stitch - do not trim base fabric
3. Placement Stitch - then place bottom of
saucer appliqué
4. Tacking Stitch - then trim bottom of
saucer appliqué