ANATOMY OF THE DESIGN
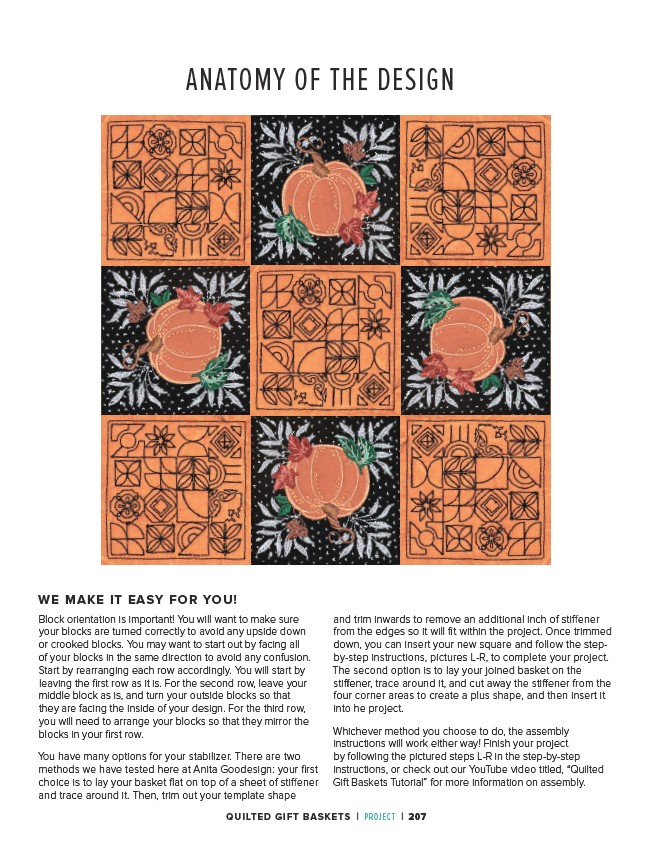
Block orientation is important! You will want to make sure
your blocks are turned correctly to avoid any upside down
or crooked blocks. You may want to start out by facing all
of your blocks in the same direction to avoid any confusion.
Start by rearranging each row accordingly. You will start by
leaving the first row as it is. For the second row, leave your
middle block as is, and turn your outside blocks so that
they are facing the inside of your design. For the third row,
you will need to arrange your blocks so that they mirror the
blocks in your first row.
You have many options for your stabilizer. There are two
methods we have tested here at Anita Goodesign: your first
choice is to lay your basket flat on top of a sheet of stiffener
and trace around it. Then, trim out your template shape
and trim inwards to remove an additional inch of stiffener
from the edges so it will fit within the project. Once trimmed
down, you can insert your new square and follow the stepby
step instructions, pictures L-R, to complete your project.
The second option is to lay your joined basket on the
stiffener, trace around it, and cut away the stiffener from the
four corner areas to create a plus shape, and then insert it
into he project.
Whichever method you choose to do, the assembly
instructions will work either way! Finish your project
by following the pictured steps L-R in the step-by-step
instructions, or check out our YouTube video titled, “Quilted
Gift Baskets Tutorial” for more information on assembly.
WE MAKE IT EASY FOR YOU!
QUILTED GIFT BASKETS | PROJECT | 207