ANATOMY OF
THE DESIGN
WE MAKE IT EASY FOR YOU!
We created this tutorial to make your project as
simple as possible. We know it can be intimidating
to tackle a more involved project like these towel
danglers, but don’t worry, we lay everything out for
you step-by-step! This project involves stitching
out the main towel design in one hooping, while
stitching out the legs in another hooping. Your towel
should be paired with Wash-Away stabilizer, while
your legs are paired with Tear-Away stabilizer. When
everything is stitched out, you’ll match your legs to
your towel, and then you’re ready for assembly!
For your buttons, you can use cute little shapes and
holiday motifs like we did, or keep it simple with two-
or four-hole buttons. Feel free to get creative! Make
sure to check out our YouTube video on attaching
buttons by hand if you need help. All you have to
do is search “Assembling a Towel Dangler”. Sew the
buttons right on top of the marking stitches at the
bottom of your design.
Use a seam ripper to neatly tear the fabric within
the digitized button holes on your legs to make an
opening for your buttons. Insert the buttons into
the button holes and you’ve got a brand new
dangly holiday friend!
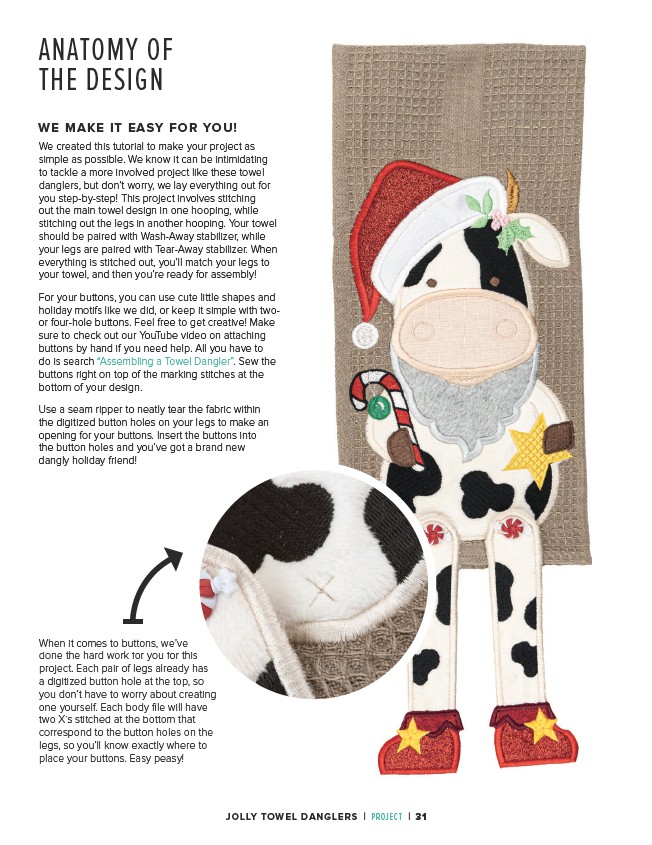
When it comes to buttons, we’ve
done the hard work for you for this
project. Each pair of legs already has
a digitized button hole at the top, so
you don’t have to worry about creating
one yourself. Each body file will have
two X’s stitched at the bottom that
correspond to the button holes on the
legs, so you’ll know exactly where to
place your buttons. Easy peasy!
JOLLY TOWEL DANGLERS | PROJECT | 31