ANATOMY OF
THE DESIGN
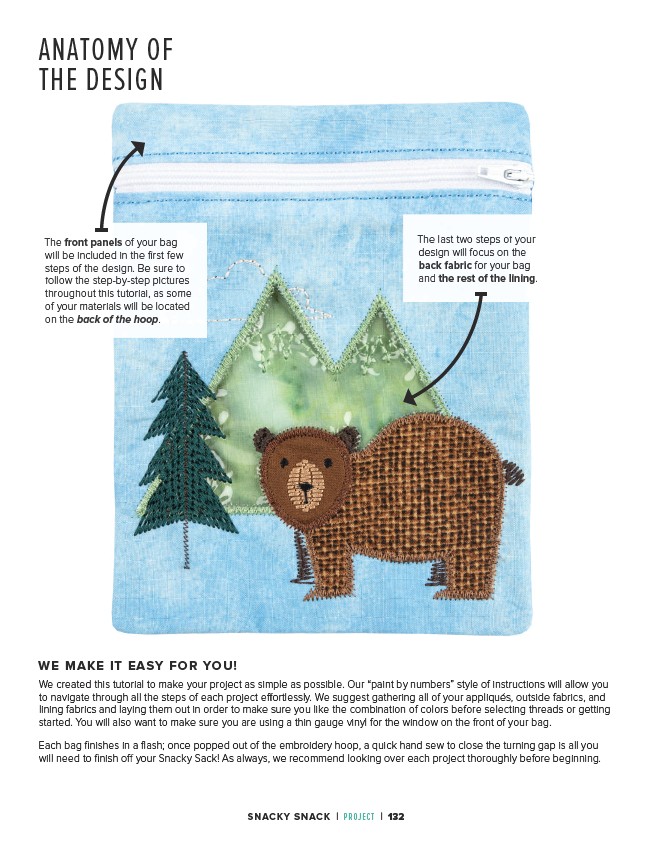
The front panels of your bag
will be included in the first few
steps of the design. Be sure to
follow the step-by-step pictures
throughout this tutorial, as some
of your materials will be located
on the back of the hoop.
WE MAKE IT EASY FOR YOU!
The last two steps of your
design will focus on the
back fabric for your bag
and the rest of the lining.
We created this tutorial to make your project as simple as possible. Our “paint by numbers” style of instructions will allow you
to navigate through all the steps of each project effortlessly. We suggest gathering all of your appliqués, outside fabrics, and
lining fabrics and laying them out in order to make sure you like the combination of colors before selecting threads or getting
started. You will also want to make sure you are using a thin gauge vinyl for the window on the front of your bag.
Each bag finishes in a flash; once popped out of the embroidery hoop, a quick hand sew to close the turning gap is all you
will need to finish off your Snacky Sack! As always, we recommend looking over each project thoroughly before beginning.
SNACKY SNACK | PROJECT | 132