STEPS | ALL ACCESS | 262
3. Placement Stitch - then place top sky
appliqué
4. Tacking Stitch - then trim top sky
appliqué
5. Placement Stitch - then place second
sky appliqué
6. Tacking Stitch - then trim second sky
appliqué
7. Placement Stitch - then place middle
sky appliqué
8. Tacking Stitch - then trim middle sky
appliqué
9. Placement Stitch - then place top sky
behind building appliqué
10. Tacking Stitch - then trim top sky behind
building appliqué
11. Placement Stitch - the place bottom left
sky appliqué
12. Tacking Stitch - then trim bottom left sky
appliqué
13. Placement Stitch - then place bottom
right sky appliqué
14. Tacking Stitch - then trim bottom right
sky appliqué
15. 674 - zigzag stitch on top of bottom sky
16. 141 - zigzag stitch on top of sky behind
building
17. 077 - zigzag stitch above middle sky
appliqué
18. 483 - zigzag stitch above second sky
appliqué
19. Placement Stitch - then place darker
Willis Tower appliqué
20. Tacking Stitch - then trim darker Willis
Tower appliqué
21. Placement Stitch - then place lighter
Willis Tower appliqué
22. Tacking Stitch - then trim Willis Tower
appliqué
23. 503 - circular light in sky
24. 663 - antennas on top of building
25. 366 - lighter building outline
26. 368 - darker building outline
27. G27 - metallic silver satin stitch outline
28. 755 - burnt orange windows
29. 661 - purple windows
30. 501 - yellow windows
31. 501 - lights on top of antennas
14-IN
AAA Size: 10.1” x 15.3” (Stitches: 62023)
AA Size: 8.9” x 13.4” (Stitches: 50965)
A Size: 7.6” x 11.5” (Stitches: 41108)
B Size: 6.6” x 10.0” (Stitches: 32241)
C Size: 5.7” x 8.6” (Stitches: 23856)
D Size: 4.7” x 7.1” (Stitches: 18873)
1. Placement Stitch - then place batting
2. Tacking Stitch - then trim batting
3. Placement Stitch - then place top sky
appliqué
4. Tacking Stitch - then trim top sky
appliqué
5. Placement Stitch - then place middle
sky appliqué
6. Tacking Stitch - then trim middle sky
appliqué
7. Placement Stitch - then place bottom
sky appliqué
8. Tacking Stitch - then trim bottom sky
appliqué
9. Placement Stitch - then place race track
appliqué
10. Tacking Stitch - then trim race track
appliqué
11. Placement Stitch - then place bottom
corner and below race track appliqué
12. Tacking Stitch - then trim bottom corner
and below race track appliqué
13. 783 - zigzag stitch below race track
14. 3761 - zigzag stitch above race track
15. 077 - zigzag stitch above bottom sky
16. 884 - zigzag stitch above middle sky
17. Placement Stitch - then place cloud
appliqué
18. Tacking Stitch - then trim cloud appliqué
19. 720 - satin stitch around cloud
20. 502 - middle stripe along track
21. 368 - top and bottom stripe along track
22. 522 - yellow flags along track
23. 188 - red flag along track
24. 900 - flag poles
25. Placement Stitch - then place track wall
appliqué
26. Tacking Stitch - then trim track wall
appliqué
27. 077 - satin stitch on top and bottom of
track wall
28. 703 - bottom stripe on track wall
29. 522 - top stripe on track wall
30. 850 - white on finish line flag
31. 900 - black on finish line flag
32. 461 - finish line flag pole
33. 502 - race track details
34. G3 - metallic gold satin stitch outline
35. 143 - IndyCar body
36. 461 - inner and outer tires
37. 368 - outer roll hoop and bumper detail
38. 147 - IndyCar body details
39. 522 - inner roll hoop
40. 900 - IndyCar outline
15-IA
AAA Size: 15.3” x 10.1” (Stitches: 65390)
AA Size: 13.3” x 8.8” (Stitches: 53509)
A Size: 11.5” x 7.6” (Stitches: 42190)
B Size: 10.0” x 6.6” (Stitches: 33700)
C Size: 8.6” x 5.7” (Stitches: 26301)
D Size: 7.0” x 4.6” (Stitches: 20678)
1. Placement Stitch - then place batting
2. Tacking Stitch - then trim batting
3. Placement Stitch - then place sky
appliqué
4. Tacking Stitch - then trim sky appliqué
5. Placement Stitch - then place top field
appliqué
6. Tacking Stitch - then trim top field
appliqué
7. Placement Stitch - then place lower field
appliqué
8. Tacking Stitch - then trim lower field
appliqué
9. Placement Stitch - then place top of hill
appliqué
10. Tacking Stitch - then trim top of hill
appliqué
11. Placement Stitch - then place bottom of
hill appliqué
12. Tacking Stitch - then trim bottom of hill
appliqué
13. 292 - zigzag stitch above bottom of hill
14. 370 - zigzag stitch on top of hill
15. 745 - zigzag stitch above lower field
16. 502 - zigzag stitch above top field
17. Placement Stitch - then place clouds
appliqué
18. Tacking Stitch - then trim clouds
appliqué
19. 720 - satin stitch on clouds
20. 294 - greenery below top field
21. Placement Stitch - then place baseball
appliqué
22. Tacking Stitch - then trim baseball
appliqué
23. 702 - baseball seam
24. 4321 - zigzag stitch on bottom of
baseball
25. 4321 - satin stitch around baseball and
center stripe on diamond
26. 293 - green stripes on field
27. 502 - yellow stripes on field
28. 277 - leaves and stems on crops
29. 503 - top of crops
30. 503 - inner diamond and bases
31. 188 - outer stripe of diamond
32. 147 - barn
33. 501 - roofs and barn door
34. 900 - window on barn
35. G27 - metallic silver satin stitch outline
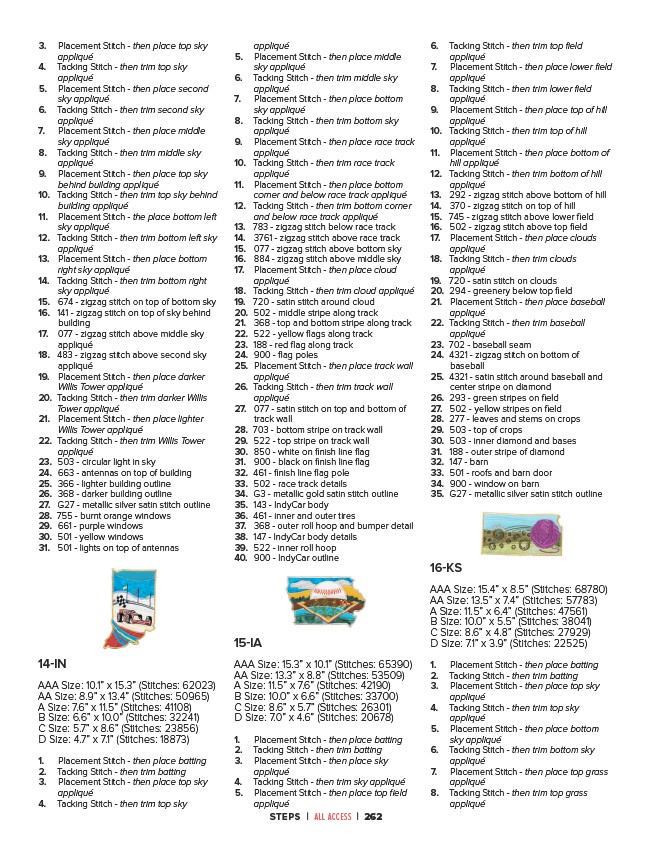
16-KS
AAA Size: 15.4” x 8.5” (Stitches: 68780)
AA Size: 13.5” x 7.4” (Stitches: 57783)
A Size: 11.5” x 6.4” (Stitches: 47561)
B Size: 10.0” x 5.5” (Stitches: 38041)
C Size: 8.6” x 4.8” (Stitches: 27929)
D Size: 7.1” x 3.9” (Stitches: 22525)
1. Placement Stitch - then place batting
2. Tacking Stitch - then trim batting
3. Placement Stitch - then place top sky
appliqué
4. Tacking Stitch - then trim top sky
appliqué
5. Placement Stitch - then place bottom
sky appliqué
6. Tacking Stitch - then trim bottom sky
appliqué
7. Placement Stitch - then place top grass
appliqué
8. Tacking Stitch - then trim top grass
appliqué