Using Printable Fabric Step-by-Step Instructions
When using printed fabric, it is important to remember
that every printer and computer is slightly different,
so these are general instructions to give you an
idea of how easy it is to use this technique!
First, open the image of your pet you are wanting to use.
You will also need the PDF template from your collection’s
Printable Fabric Templates PDFs folder. All of our
printable files are in PDF format, which can be opened
and printed using Adobe Reader. This is a free program
you can download at www.get.adobe.com/reader.
NOTE: When printing your Printed Fabric Template,
make sure to scale your chosen template to 100%.
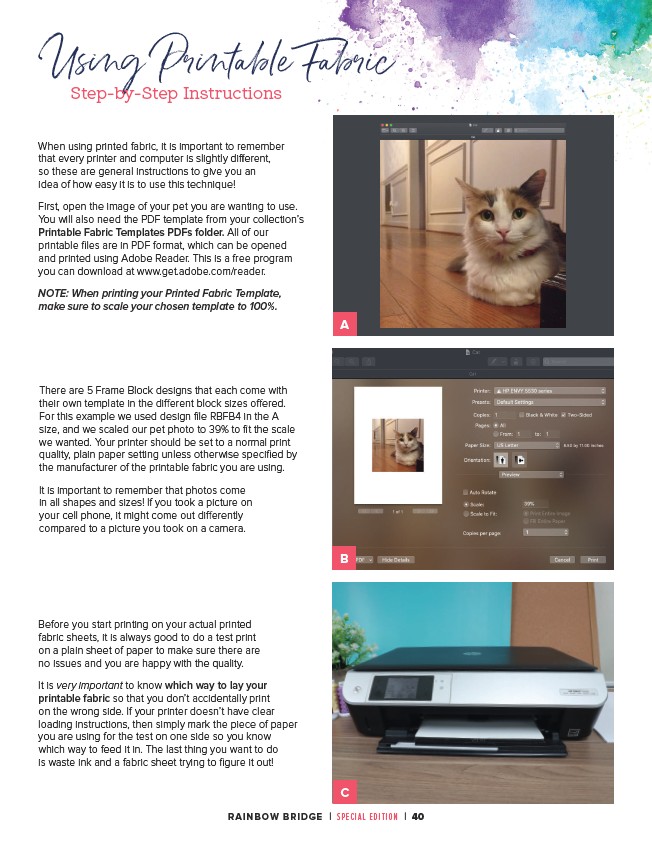
There are 5 Frame Block designs that each come with
their own template in the different block sizes offered.
For this example we used design file RBFB4 in the A
size, and we scaled our pet photo to 39% to fit the scale
we wanted. Your printer should be set to a normal print
quality, plain paper setting unless otherwise specified by
the manufacturer of the printable fabric you are using.
It is important to remember that photos come
in all shapes and sizes! If you took a picture on
your cell phone, it might come out differently
compared to a picture you took on a camera.
A
B
Before you start printing on your actual printed
fabric sheets, it is always good to do a test print
on a plain sheet of paper to make sure there are
no issues and you are happy with the quality.
It is very important to know which way to lay your
printable fabric so that you don’t accidentally print
on the wrong side. If your printer doesn’t have clear
loading instructions, then simply mark the piece of paper
you are using for the test on one side so you know
which way to feed it in. The last thing you want to do
is waste ink and a fabric sheet trying to figure it out!
C
RAINBOW BRIDGE | SPECIAL EDITION | 40
/reader