IN THE HOOP
Our meal organizers come in three
different sizes: a large sandwich bag, a
medium snack bag, and a small utensil
bag. Each bag size has 4 different
embroidered designs to choose from,
giving you 12 total designs! Since there
are 3 different sizes of bag, you’ll see
that there are 3 files for the back of
the meal organizer, 1 for each size. It’s
important to match up your front file
design with the correct back file to
create your meal organizer.
When assembling your meal organizer,
the lining needs to be water-resistant
so that messes are easy to clean up.
In this tutorial, we used regular sheets
of clear vinyl to make the lining waterresistant,
but you can also use iron-on
vinyl. For instructions on how to use
iron-on vinyl, check out our video on
YouTube!
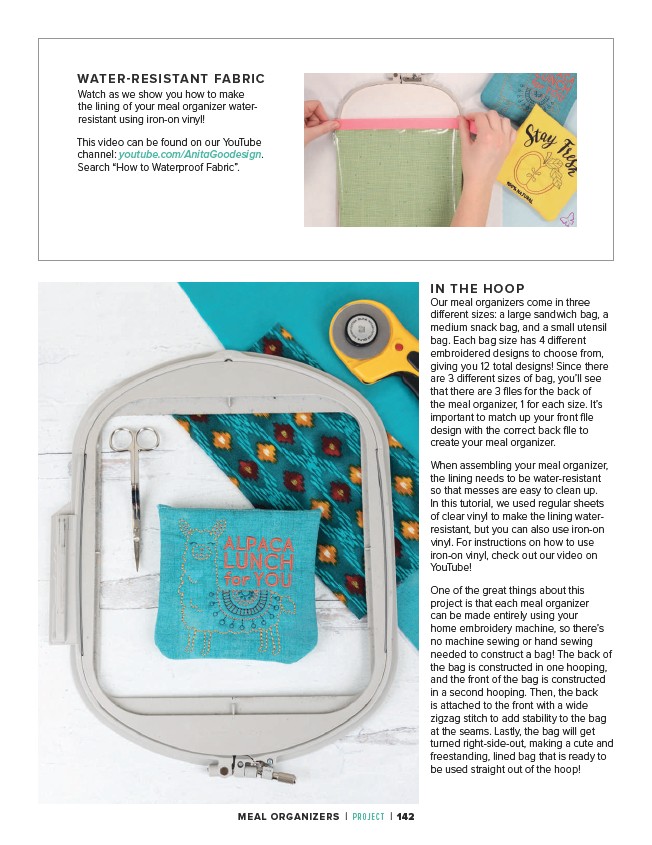
One of the great things about this
project is that each meal organizer
can be made entirely using your
home embroidery machine, so there’s
no machine sewing or hand sewing
needed to construct a bag! The back of
the bag is constructed in one hooping,
and the front of the bag is constructed
in a second hooping. Then, the back
is attached to the front with a wide
zigzag stitch to add stability to the bag
at the seams. Lastly, the bag will get
turned right-side-out, making a cute and
freestanding, lined bag that is ready to
be used straight out of the hoop!
WATER-RESISTANT FABRIC
Watch as we show you how to make
the lining of your meal organizer waterresistant
using iron-on vinyl!
This video can be found on our YouTube
channel: youtube.com/AnitaGoodesign.
Search “How to Waterproof Fabric”.
MEAL ORGANIZERS | PROJECT | 142
/AnitaGoodesign