+ HOMESTYLE
Make it Your Own Create a custom piece to
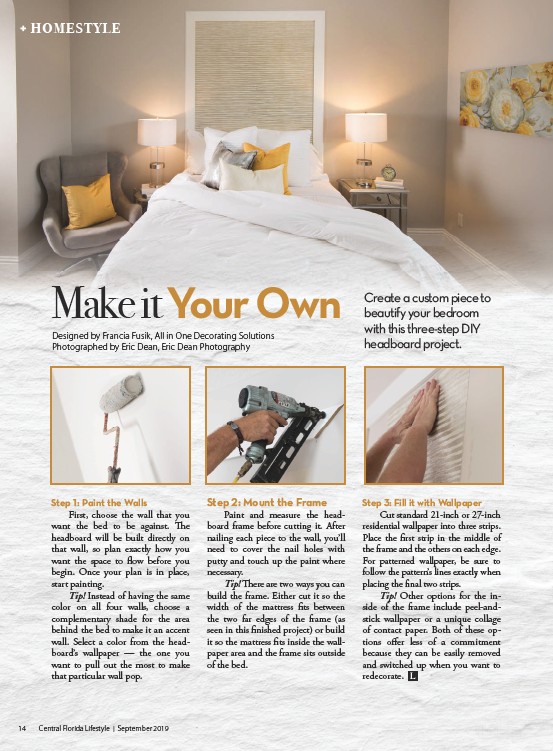
Step 1: Paint the Walls
First, choose the wall that you
want the bed to be against. The
headboard will be built directly on
that wall, so plan exactly how you
want the space to flow before you
begin. Once your plan is in place,
start painting.
Tip! Instead of having the same
color on all four walls, choose a
complementary shade for the area
behind the bed to make it an accent
wall. Select a color from the headboard’s
wallpaper — the one you
want to pull out the most to make
that particular wall pop.
Step 2: Mount the Frame
Paint and measure the headboard
frame before cutting it. After
nailing each piece to the wall, you’ll
need to cover the nail holes with
putty and touch up the paint where
necessary.
Tip! There are two ways you can
build the frame. Either cut it so the
width of the mattress fits between
the two far edges of the frame (as
seen in this finished project) or build
it so the mattress fits inside the wallpaper
area and the frame sits outside
of the bed.
Step 3: Fill it with Wallpaper
Cut standard 21-inch or 27-inch
residential wallpaper into three strips.
Place the first strip in the middle of
the frame and the others on each edge.
For patterned wallpaper, be sure to
follow the pattern’s lines exactly when
placing the final two strips.
Tip! Other options for the inside
of the frame include peel-andstick
wallpaper or a unique collage
of contact paper. Both of these options
offer less of a commitment
because they can be easily removed
and switched up when you want to
redecorate.
Designed by Francia Fusik, All in One Decorating Solutions
Photographed by Eric Dean, Eric Dean Photography
14 Central Florida Lifestyle | September 2019
beautify your bedroom
with this three-step DIY
headboard project.