Inspection, Service & Maintenance
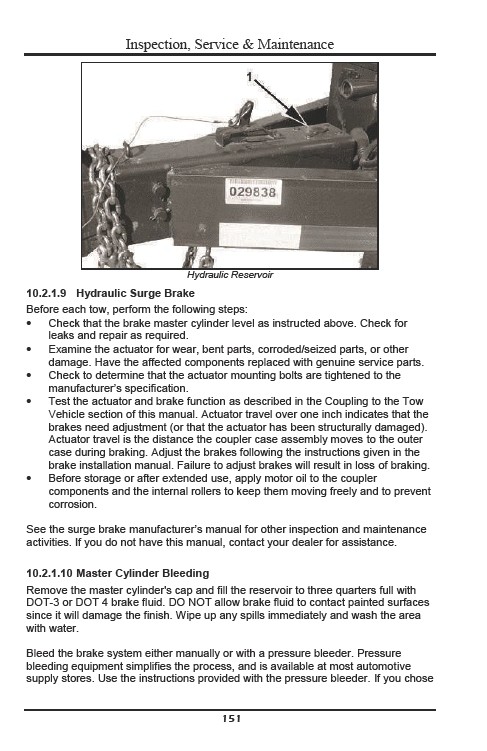
Hydraulic Reservoir
10.2.1.9 Hydraulic Surge Brake
Before each tow, perform the following steps:
�� Check that the brake master cylinder level as instructed above. Check for
151
leaks and repair as required.
�� Examine the actuator for wear, bent parts, corroded/seized parts, or other
damage. Have the affected components replaced with genuine service parts.
�� Check to determine that the actuator mounting bolts are tightened to the
manufacturer’s specification.
�� Test the actuator and brake function as described in the Coupling to the Tow
Vehicle section of this manual. Actuator travel over one inch indicates that the
brakes need adjustment (or that the actuator has been structurally damaged).
Actuator travel is the distance the coupler case assembly moves to the outer
case during braking. Adjust the brakes following the instructions given in the
brake installation manual. Failure to adjust brakes will result in loss of braking.
�� Before storage or after extended use, apply motor oil to the coupler
components and the internal rollers to keep them moving freely and to prevent
corrosion.
See the surge brake manufacturer’s manual for other inspection and maintenance
activities. If you do not have this manual, contact your dealer for assistance.
10.2.1.10 Master Cylinder Bleeding
Remove the master cylinder's cap and fill the reservoir to three quarters full with
DOT-3 or DOT 4 brake fluid. DO NOT allow brake fluid to contact painted surfaces
since it will damage the finish. Wipe up any spills immediately and wash the area
with water.
Bleed the brake system either manually or with a pressure bleeder. Pressure
bleeding equipment simplifies the process, and is available at most automotive
supply stores. Use the instructions provided with the pressure bleeder. If you chose