BY DOLORES RIGGINS
A LITTLE DIY HOLIDAY SPIRIT FROM PUMPKINS TO JINGLE BELLS ...
AGET CRAFTY THIS FALL
utumn is here, and that means Halloween is nearly
upon us, and Th anksgiving is right around the
corner, with Christmas following closely behind.
For many, this is the most wonderful time of
the year … without a doubt, it most certainly is
for the craft y DIYer. However, it’s also a tough time of year – not
because of all the stress the hustle and bustle the season brings,
but rather because it’s so hard to choose which of the many DIY
endeavors you want to tackle. Aft er all, there are only three months
to get them all craft ed! If your craft y mind is spinning with fun
and festive holiday projects, it’s is diffi cult to narrow it down … but
it can defi nitely be done. Let’s dive in to a few simple and fun tasks
that are perfect for the best craft ing season of the year.
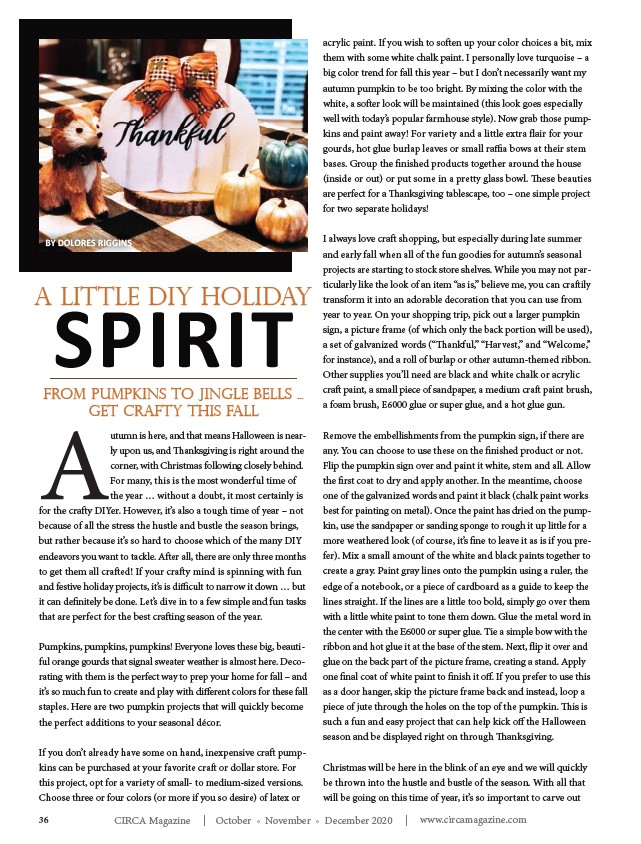
Pumpkins, pumpkins, pumpkins! Everyone loves these big, beautiful
orange gourds that signal sweater weather is almost here. Decorating
with them is the perfect way to prep your home for fall – and
it’s so much fun to create and play with diff erent colors for these fall
staples. Here are two pumpkin projects that will quickly become
the perfect additions to your seasonal décor.
If you don’t already have some on hand, inexpensive craft pumpkins
can be purchased at your favorite craft or dollar store. For
this project, opt for a variety of small- to medium-sized versions.
Choose three or four colors (or more if you so desire) of latex or
acrylic paint. If you wish to soft en up your color choices a bit, mix
them with some white chalk paint. I personally love turquoise – a
big color trend for fall this year – but I don’t necessarily want my
autumn pumpkin to be too bright. By mixing the color with the
white, a soft er look will be maintained (this look goes especially
well with today’s popular farmhouse style). Now grab those pumpkins
and paint away! For variety and a little extra fl air for your
gourds, hot glue burlap leaves or small raffi a bows at their stem
bases. Group the fi nished products together around the house
(inside or out) or put some in a pretty glass bowl. Th ese beauties
are perfect for a Th anksgiving tablescape, too – one simple project
for two separate holidays!
I always love craft shopping, but especially during late summer
and early fall when all of the fun goodies for autumn’s seasonal
projects are starting to stock store shelves. While you may not particularly
like the look of an item “as is,” believe me, you can craft ily
transform it into an adorable decoration that you can use from
year to year. On your shopping trip, pick out a larger pumpkin
sign, a picture frame (of which only the back portion will be used),
a set of galvanized words (“Th ankful,” “Harvest,” and “Welcome,”
for instance), and a roll of burlap or other autumn-themed ribbon.
Other supplies you’ll need are black and white chalk or acrylic
craft paint, a small piece of sandpaper, a medium craft paint brush,
a foam brush, E6000 glue or super glue, and a hot glue gun.
Remove the embellishments from the pumpkin sign, if there are
any. You can choose to use these on the fi nished product or not.
Flip the pumpkin sign over and paint it white, stem and all. Allow
the fi rst coat to dry and apply another. In the meantime, choose
one of the galvanized words and paint it black (chalk paint works
best for painting on metal). Once the paint has dried on the pumpkin,
use the sandpaper or sanding sponge to rough it up little for a
more weathered look (of course, it’s fi ne to leave it as is if you prefer).
Mix a small amount of the white and black paints together to
create a gray. Paint gray lines onto the pumpkin using a ruler, the
edge of a notebook, or a piece of cardboard as a guide to keep the
lines straight. If the lines are a little too bold, simply go over them
with a little white paint to tone them down. Glue the metal word in
the center with the E6000 or super glue. Tie a simple bow with the
ribbon and hot glue it at the base of the stem. Next, fl ip it over and
glue on the back part of the picture frame, creating a stand. Apply
one fi nal coat of white paint to fi nish it off . If you prefer to use this
as a door hanger, skip the picture frame back and instead, loop a
piece of jute through the holes on the top of the pumpkin. Th is is
such a fun and easy project that can help kick off the Halloween
season and be displayed right on through Th anksgiving.
Christmas will be here in the blink of an eye and we will quickly
be thrown into the hustle and bustle of the season. With all that
will be going on this time of year, it’s so important to carve out
36 CIRCA Magazine | October • November • December 2020 | www.circamagazine.com
/www.circamagazine.com