Notes
SOL A R I S D E M O G U I D E | 2 5 |
SOLARIS DEMO GUIDE - SEWING STEP BY STEP
Review and reinforce
Our embroidered cover for our Solaris Satchel is complete, so let’s move
onto construction. First, aren’t you blown away by the IQ and Embroidery
features of the Solaris? I love how quickly I can customize a design! What
are some of your favorite features?
Sewing Features
» Needle Plate Latch for easy removal
» Never Miss Needle Threader
» Generous Area for Needle/Foot
» Adjustable Bobbin Winding Amount
» Updated Screen Layout and
Navigation
» Guide Line Marker using the IQ
Visionary Projector
» Simulating Stitch Design and position
using the IQ Visionary Projector
» Dual Function Stylus for stitch
settings
» Enhanced Pivot Function
» Camera Detecting Button Hole
» Automatic Tie-off and Trim Function
» Fabric Thickness Sensor Settings
Teaching Tip
Spend a little time here
listening and letting your
attendee’s “ooo” and “ahh”
over the machine. Watch for
buying signals and have your
favorite features ready to
point out.
Be sure to call attention
to some of these key
improvements as you instruct
the satchel construction:
A B
› Main and Sub Line for Sewing
› Grid for Aligning Decorative
Stitches
› Projector Setting Adjustments
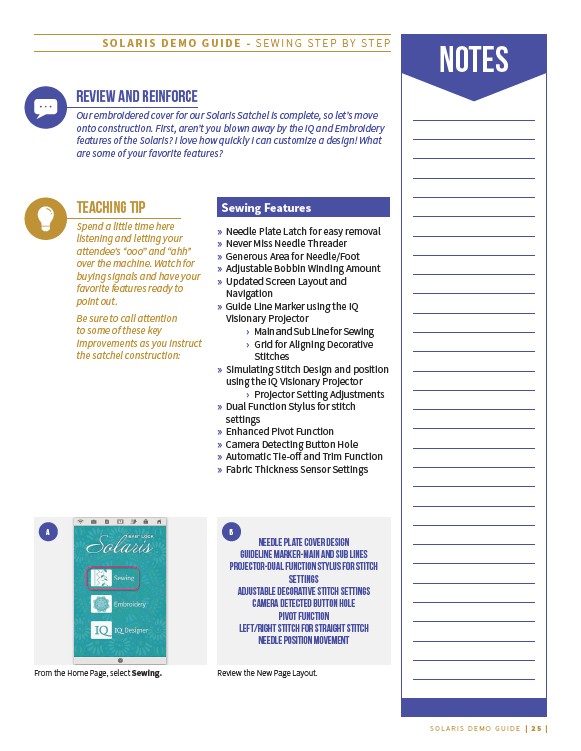
Needle Plate Cover design
Guideline Marker-Main and Sub lines
Projector-Dual Function Stylus for stitch
settings
Adjustable Decorative Stitch Settings
Camera Detected Button hole
Pivot Function
Left/Right Stitch for Straight Stitch
Needle Position Movement
From the Home Page, select Sewing. Review the New Page Layout.