There are endless combinations of fun, textured fabrics you
can use for this project, but what really makes these holiday
creatures come to life is their adorable hanging legs! Each
friend or critter has a pair of coordinating legs, so be sure
to match the digital file numbers together for all twelve
designs. When your legs are finished stitching, simply pull the
remaining stabilizer away and prepare your buttonholes with
your seam ripper. Pick out some cute, Christmas-y buttons,
hand-sew them onto the marking stitches at the bottom of
your towel, and you’re all ready to attach your legs! These
towels will be a classic in your holiday decor year after year.
For more in-depth instructions on assembling your dangler,
be sure to check out the video on our website!
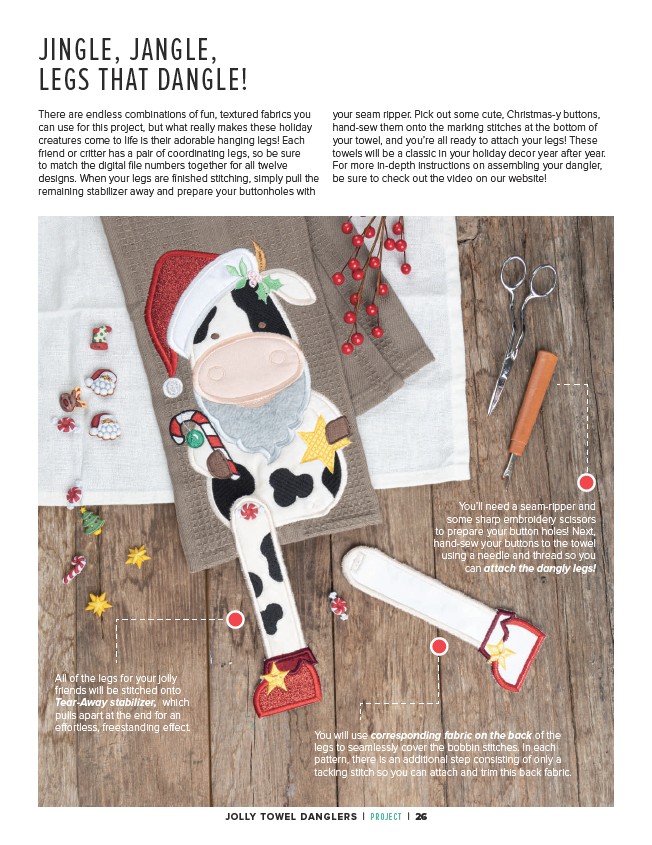
You’ll need a seam-ripper and
some sharp embroidery scissors
to prepare your button holes! Next,
hand-sew your buttons to the towel
using a needle and thread so you
can attach the dangly legs!
All of the legs for your jolly
friends will be stitched onto
Tear-Away stabilizer, which
pulls apart at the end for an
effortless, freestanding effect.
You will use corresponding fabric on the back of the
legs to seamlessly cover the bobbin stitches. In each
pattern, there is an additional step consisting of only a
tacking stitch so you can attach and trim this back fabric.
JINGLE, JANGLE,
LEGS THAT DANGLE!
JOLLY TOWEL DANGLERS | PROJECT | 26