FINISHING YOUR MEAL ORGANIZER
STEP-BY-STEP INSTRUCTIONS
A B
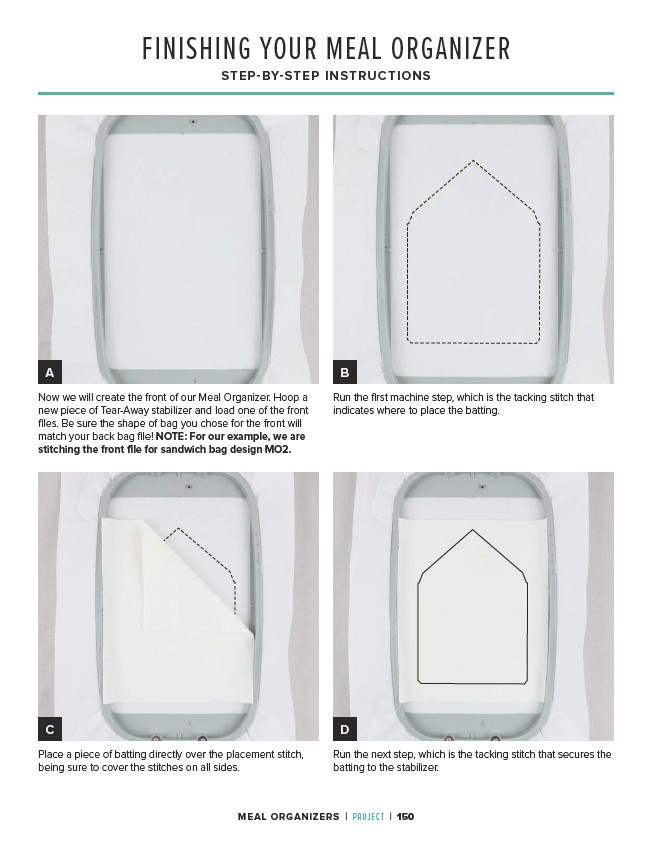
Run the first machine step, which is the tacking stitch that
indicates where to place the batting.
C D
Place a piece of batting directly over the placement stitch,
being sure to cover the stitches on all sides.
Run the next step, which is the tacking stitch that secures the
batting to the stabilizer.
Now we will create the front of our Meal Organizer. Hoop a
new piece of Tear-Away stabilizer and load one of the front
files. Be sure the shape of bag you chose for the front will
match your back bag file! NOTE: For our example, we are
stitching the front file for sandwich bag design MO2.
MEAL ORGANIZERS | PROJECT | 150