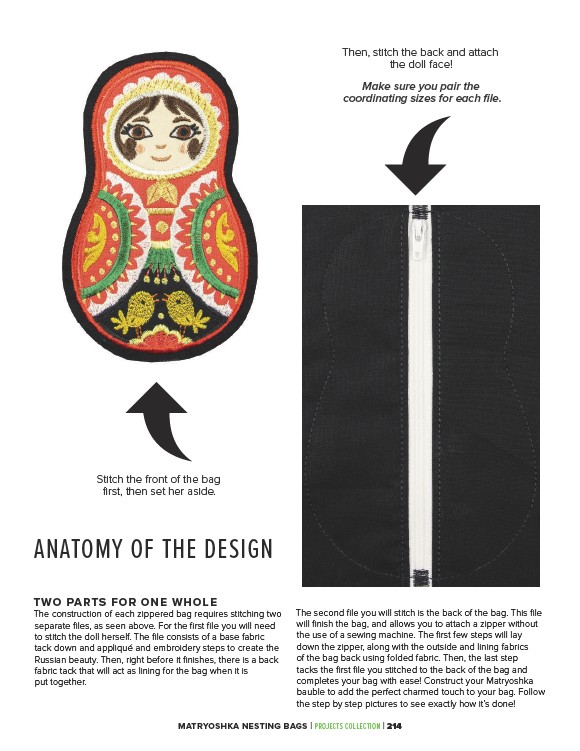
Stitch the front of the bag
first, then set her aside.
ANATOMY OF THE DESIGN
TWO PARTS FOR ONE WHOLE
The construction of each zippered bag requires stitching two
separate files, as seen above. For the first file you will need
to stitch the doll herself. The file consists of a base fabric
tack down and appliqué and embroidery steps to create the
Russian beauty. Then, right before it finishes, there is a back
fabric tack that will act as lining for the bag when it is
put together.
Then, stitch the back and attach
the doll face!
Make sure you pair the
coordinating sizes for each file.
The second file you will stitch is the back of the bag. This file
will finish the bag, and allows you to attach a zipper without
the use of a sewing machine. The first few steps will lay
down the zipper, along with the outside and lining fabrics
of the bag back using folded fabric. Then, the last step
tacks the first file you stitched to the back of the bag and
completes your bag with ease! Construct your Matryoshka
bauble to add the perfect charmed touch to your bag. Follow
the step by step pictures to see exactly how it’s done!
MATRYOSHKA NESTING BAGS | PROJECTS COLLECTION | 214