3D TREE TOPPERS | PROJECT COLLECTION | 12
CUT IT OUT
Before stitching your tree topper
design, you’ll want to prep the stiffener
pieces. We’ve included a template in
this tutorial for you to print, cut out and
then trace the exact angel or star shape
you’ll need onto the stiffener. Then, you
can just trim out the shape and set it
to the side until you need it in the final
hooping. Be sure to match the letter
size of your angel template with the
letter size of your design.
EASY AS 1, 2, 3!
Each tree topper is constructed in three
parts. First, in two separate hoopings,
you’ll stitch “-1” and -2” of the tree
topper set, then set them to the side.
For example, with 3DTT1, you’ll need
to stitch 3DTT1-1 and 3DTT1-2 first. In
your third and final hooping, you’ll load
the “-3” file of your set, which in our
example, would be 3DTT1-3. In this
hooping, you’ll attach the pieces that
you made in the previous hoopings,
following the step-by-step pictures and
your numbered steps as a guide.
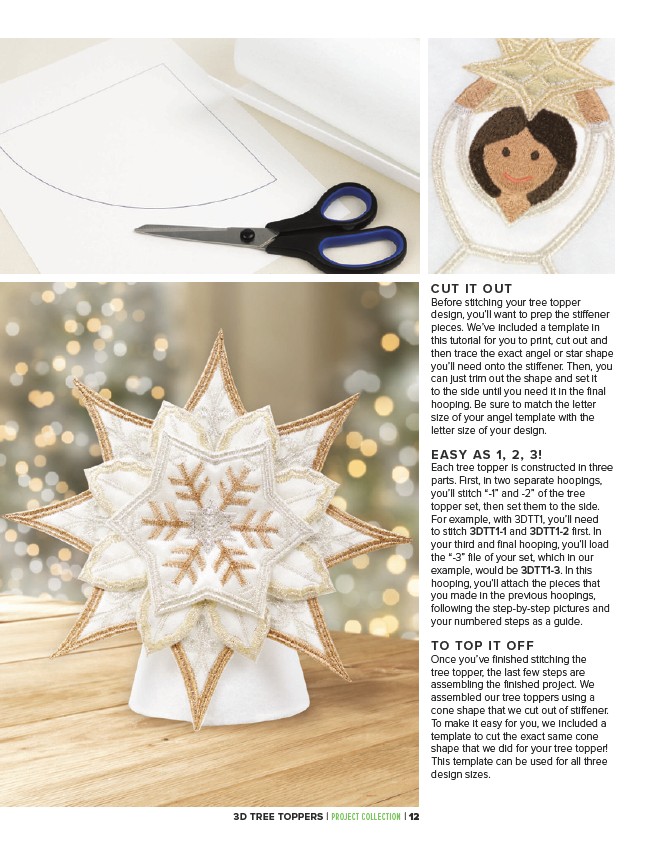
TO TOP IT OFF
Once you’ve finished stitching the
tree topper, the last few steps are
assembling the finished project. We
assembled our tree toppers using a
cone shape that we cut out of stiffener.
To make it easy for you, we included a
template to cut the exact same cone
shape that we did for your tree topper!
This template can be used for all three
design sizes.