MIX & MASHUP | ALL ACCESS | 170
SELECT YOUR
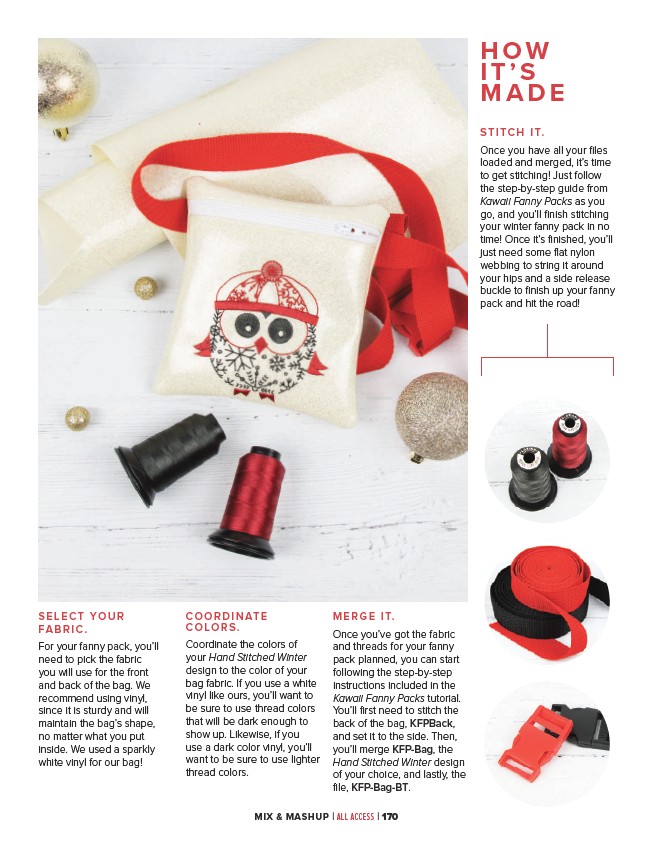
FABRIC.
For your fanny pack, you’ll
need to pick the fabric
you will use for the front
and back of the bag. We
recommend using vinyl,
since it is sturdy and will
maintain the bag’s shape,
no matter what you put
inside. We used a sparkly
white vinyl for our bag!
COORDINATE
COLORS.
Coordinate the colors of
your Hand Stitched Winter
design to the color of your
bag fabric. If you use a white
vinyl like ours, you’ll want to
be sure to use thread colors
that will be dark enough to
show up. Likewise, if you
use a dark color vinyl, you’ll
want to be sure to use lighter
thread colors.
MERGE IT.
Once you’ve got the fabric
and threads for your fanny
pack planned, you can start
following the step-by-step
instructions included in the
Kawaii Fanny Packs tutorial.
You’ll first need to stitch the
back of the bag, KFPBack,
and set it to the side. Then,
you’ll merge KFP-Bag, the
Hand Stitched Winter design
of your choice, and lastly, the
file, KFP-Bag-BT.
HOW
I T ’ S
MADE
STITCH IT.
Once you have all your files
loaded and merged, it’s time
to get stitching! Just follow
the step-by-step guide from
Kawaii Fanny Packs as you
go, and you’ll finish stitching
your winter fanny pack in no
time! Once it’s finished, you’ll
just need some flat nylon
webbing to string it around
your hips and a side release
buckle to finish up your fanny
pack and hit the road!