MIX & MASHUP | ALL ACCESS | 128
MATCH YOUR FABRICS.
After deciding which season
you are focusing on, the next
step is to select your fabrics.
The easiest way to do this
is to use the same or similar
colored fabrics and threads
for both signs. For ours, we
focused on fall, so we used
the same oranges, browns,
and olive greens throughout
both signs.
STITCH YOUR SIGNS.
Stitch your Vintage
Truck Sign, its seasonal
attachment, and your
Seasonal Welcome Sign
following the step by step
instructions included in
each tutorial. For your truck
sign, instead of attaching an
arched piece of ribbon to
the top edge, you’ll attach
two pieces of ribbon to the
left and right side of the top
edge of the truck.
ATTACH AND DISPLAY.
Once your signs are stitched,
they’re ready to be attached.
The top tier of your sign will
be the Seasonal Welcome
Sign, while the truck sign
will be attached to the
bottom edge so it dangles
underneath. Take a look at
the step-by-step instructions
on the following pages to
see how we attached our
signs!
PLANNING
IT OUT
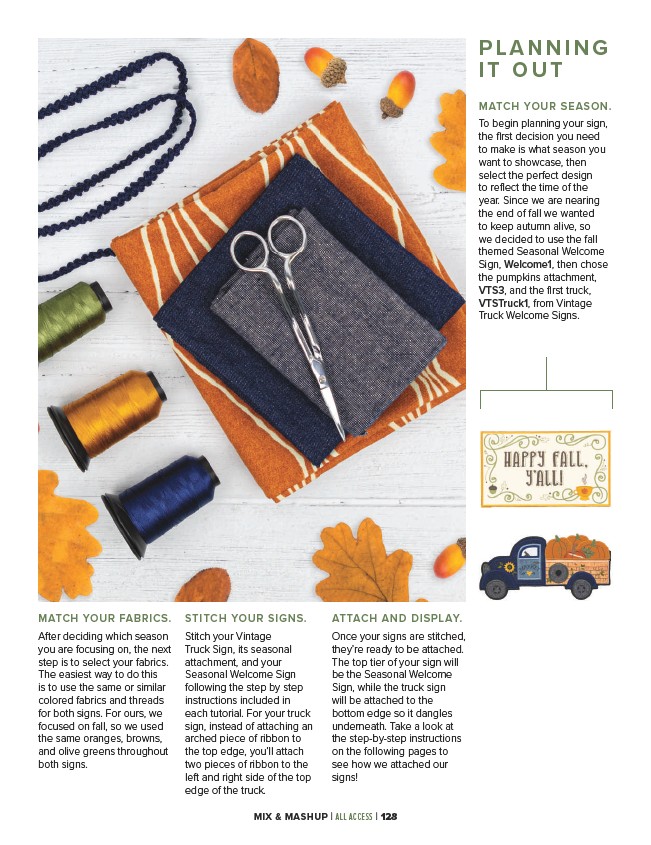
MATCH YOUR SEASON.
To begin planning your sign,
the first decision you need
to make is what season you
want to showcase, then
select the perfect design
to reflect the time of the
year. Since we are nearing
the end of fall we wanted
to keep autumn alive, so
we decided to use the fall
themed Seasonal Welcome
Sign, Welcome1, then chose
the pumpkins attachment,
VTS3, and the first truck,
VTSTruck1, from Vintage
Truck Welcome Signs.