ATTACHING YOUR ORNAMENTS
STEP-BY-STEP INSTRUCTIONS
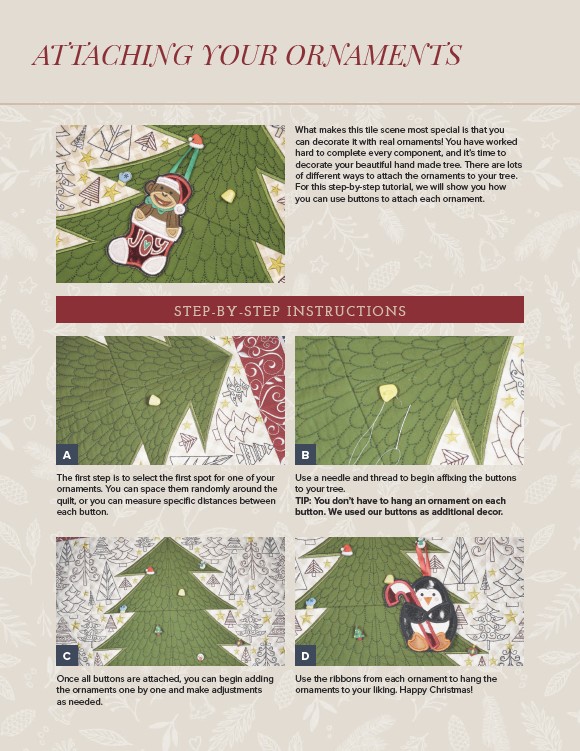
The first step is to select the first spot for one of your
ornaments. You can space them randomly around the
quilt, or you can measure specific distances between
each button.
Once all buttons are attached, you can begin adding
the ornaments one by one and make adjustments
as needed.
What makes this tile scene most special is that you
can decorate it with real ornaments! You have worked
hard to complete every component, and it’s time to
decorate your beautiful hand made tree. There are lots
of different ways to attach the ornaments to your tree.
For this step-by-step tutorial, we will show you how
you can use buttons to attach each ornament.
Use a needle and thread to begin affixing the buttons
to your tree.
TIP: You don’t have to hang an ornament on each
button. We used our buttons as additional decor.
Use the ribbons from each ornament to hang the
ornaments to your liking. Happy Christmas!
A
C
B
D