5 6
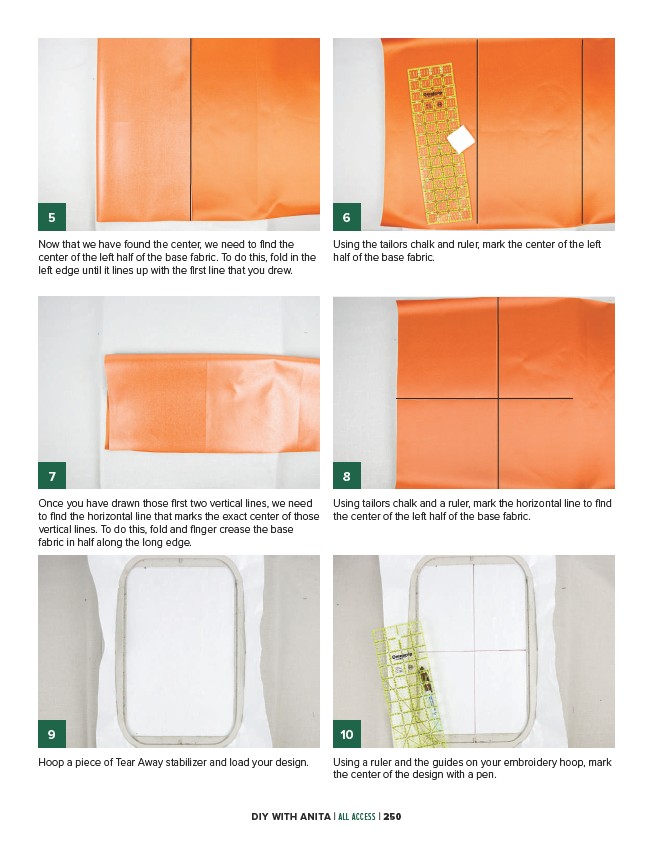
Now that we have found the center, we need to find the
center of the left half of the base fabric. To do this, fold in the
left edge until it lines up with the first line that you drew.
Using the tailors chalk and ruler, mark the center of the left
half of the base fabric.
7 8
Once you have drawn those first two vertical lines, we need
to find the horizontal line that marks the exact center of those
vertical lines. To do this, fold and finger crease the base
fabric in half along the long edge.
Using tailors chalk and a ruler, mark the horizontal line to find
the center of the left half of the base fabric.
9 10
Hoop a piece of Tear Away stabilizer and load your design.
Using a ruler and the guides on your embroidery hoop, mark
the center of the design with a pen.
DIY WITH ANITA | ALL ACCESS | 250