MIX & MASHUP | ALL ACCESS | 172
ON YOUR MARK
The first step in the design
process is selecting the
Growth Chart Marker you
want to use. Any of the
markers can be used, so
it’s all up to you to pick the
marker that you think is the
cutest and coordinates best
with your growth chart!
SELECT YOUR FONT
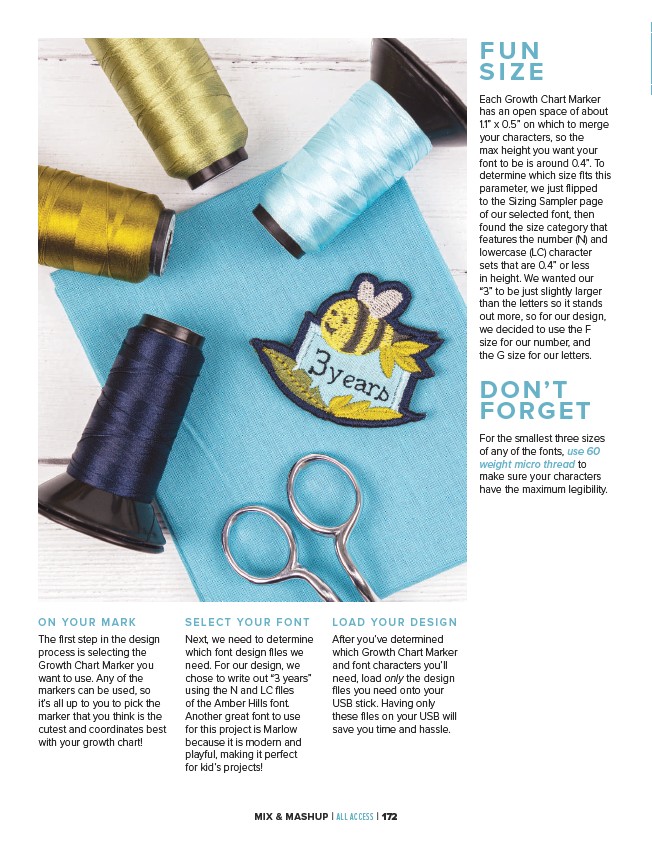
Next, we need to determine
which font design files we
need. For our design, we
chose to write out “3 years”
using the N and LC files
of the Amber Hills font.
Another great font to use
for this project is Marlow
because it is modern and
playful, making it perfect
for kid’s projects!
LOAD YOUR DESIGN
After you’ve determined
which Growth Chart Marker
and font characters you’ll
need, load only the design
files you need onto your
USB stick. Having only
these files on your USB will
save you time and hassle.
FUN
SIZE
Each Growth Chart Marker
has an open space of about
1.1” x 0.5” on which to merge
your characters, so the
max height you want your
font to be is around 0.4”. To
determine which size fits this
parameter, we just flipped
to the Sizing Sampler page
of our selected font, then
found the size category that
features the number (N) and
lowercase (LC) character
sets that are 0.4” or less
in height. We wanted our
“3” to be just slightly larger
than the letters so it stands
out more, so for our design,
we decided to use the F
size for our number, and
the G size for our letters.
DON’T
FORGET
For the smallest three sizes
of any of the fonts, use 60
weight micro thread to
make sure your characters
have the maximum legibility.