STEP-BY-STEP INSTRUCTIONS
STEP G
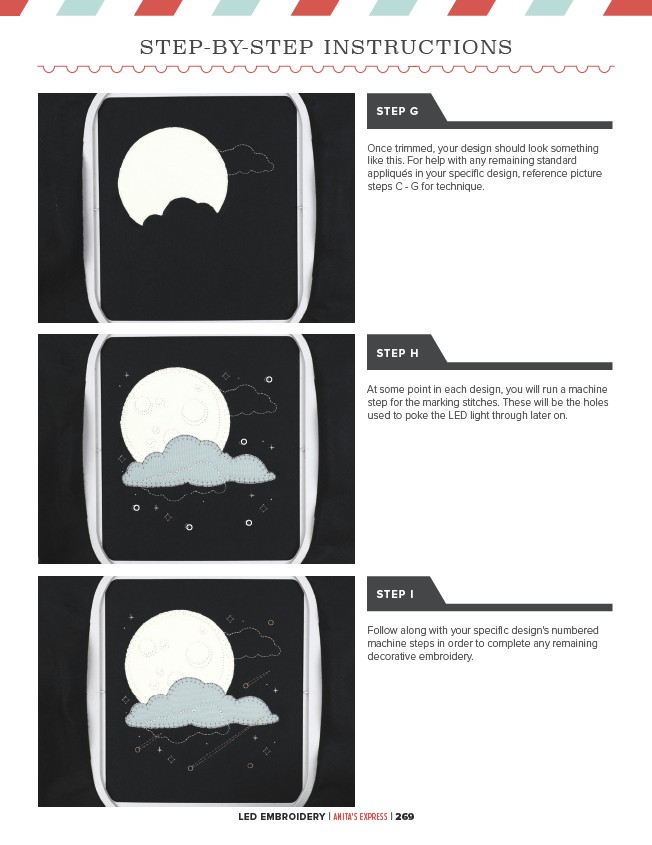
Once trimmed, your design should look something
like this. For help with any remaining standard
appliqués in your specific design, reference picture
steps C - G for technique.
STEP H
At some point in each design, you will run a machine
step for the marking stitches. These will be the holes
used to poke the LED light through later on.
STEP I
Follow along with your specific design's numbered
machine steps in order to complete any remaining
decorative embroidery.
LED EMBROIDERY | ANITA'S EXPRESS | 269