CREATING THE GIFT TAG
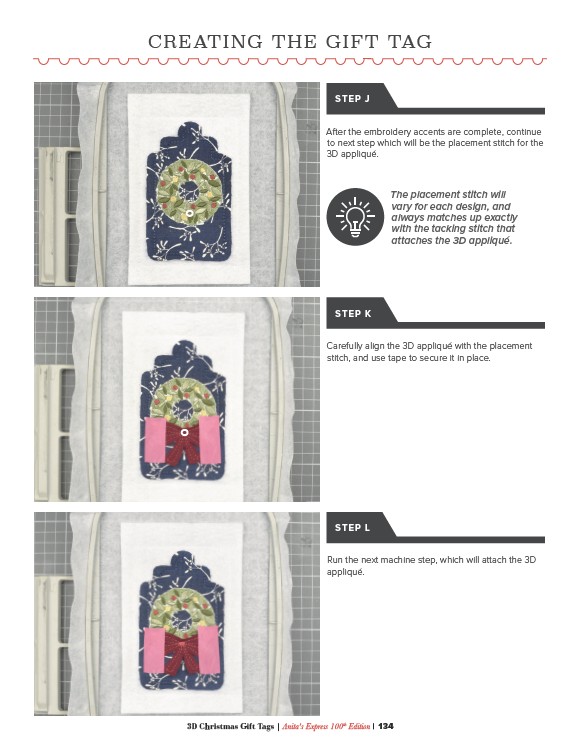
STEP J
After the embroidery accents are complete, continue
to next step which will be the placement stitch for the
3D appliqué.
STEP K
The placement stitch will
vary for each design, and
always matches up exactly
with the tacking stitch that
attaches the 3D appliqué.
Carefully align the 3D appliqué with the placement
stitch, and use tape to secure it in place.
STEP L
Run the next machine step, which will attach the 3D
appliqué.
3D Christmas Gift Tags | Anita's Express 100th Edition | 134