Q u i l t B l o c k
REMIX
C R A Z Y Q B 3 S T E P S
Quilt Block Remix | All Access | 254
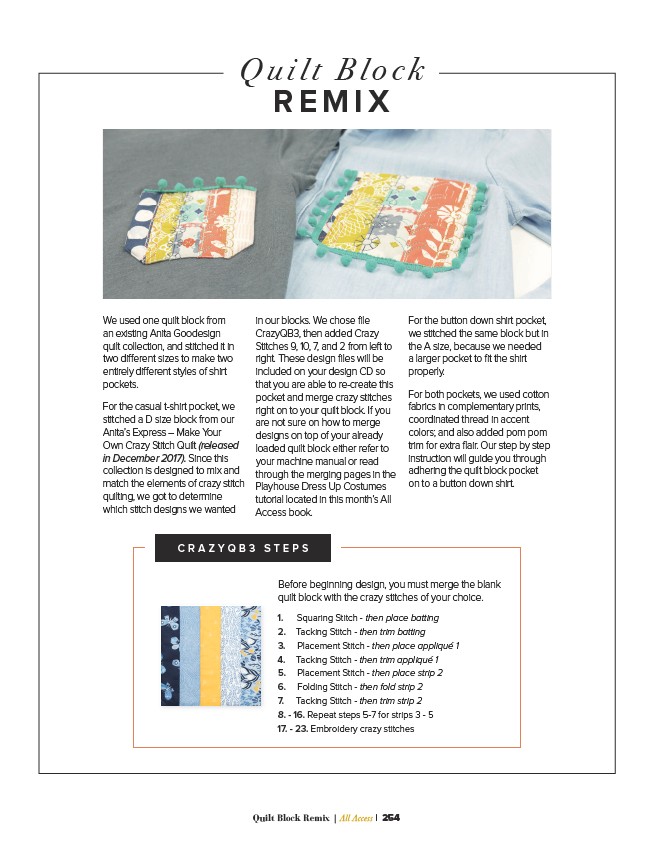
We used one quilt block from
an existing Anita Goodesign
quilt collection, and stitched it in
two different sizes to make two
entirely different styles of shirt
pockets.
For the casual t-shirt pocket, we
stitched a D size block from our
Anita’s Express – Make Your
Own Crazy Stitch Quilt (released
in December 2017). Since this
collection is designed to mix and
match the elements of crazy stitch
quilting, we got to determine
which stitch designs we wanted
in our blocks. We chose file
CrazyQB3, then added Crazy
Stitches 9, 10, 7, and 2 from left to
right. These design files will be
included on your design CD so
that you are able to re-create this
pocket and merge crazy stitches
right on to your quilt block. If you
are not sure on how to merge
designs on top of your already
loaded quilt block either refer to
your machine manual or read
through the merging pages in the
Playhouse Dress Up Costumes
tutorial located in this month’s All
Access book.
For the button down shirt pocket,
we stitched the same block but in
the A size, because we needed
a larger pocket to fit the shirt
properly.
For both pockets, we used cotton
fabrics in complementary prints,
coordinated thread in accent
colors; and also added pom pom
trim for extra flair. Our step by step
instruction will guide you through
adhering the quilt block pocket
on to a button down shirt.
Before beginning design, you must merge the blank
quilt block with the crazy stitches of your choice.
1. Squaring Stitch - then place batting
2. Tacking Stitch - then trim batting
3. Placement Stitch - then place appliqué 1
4. Tacking Stitch - then trim appliqué 1
5. Placement Stitch - then place strip 2
6. Folding Stitch - then fold strip 2
7. Tacking Stitch - then trim strip 2
8. - 16. Repeat steps 5-7 for strips 3 - 5
17. - 23. Embroidery crazy stitches