Fold the ends of the bias tape over the edge to hide the
remaining seams. Sew along the edges.
Repeat steps P through Q for the remaining 3 exposed raw
edges. Once all the seams are hidden away, the boa will look
something like this.
Kitchen Boas| Projects Collection | 176
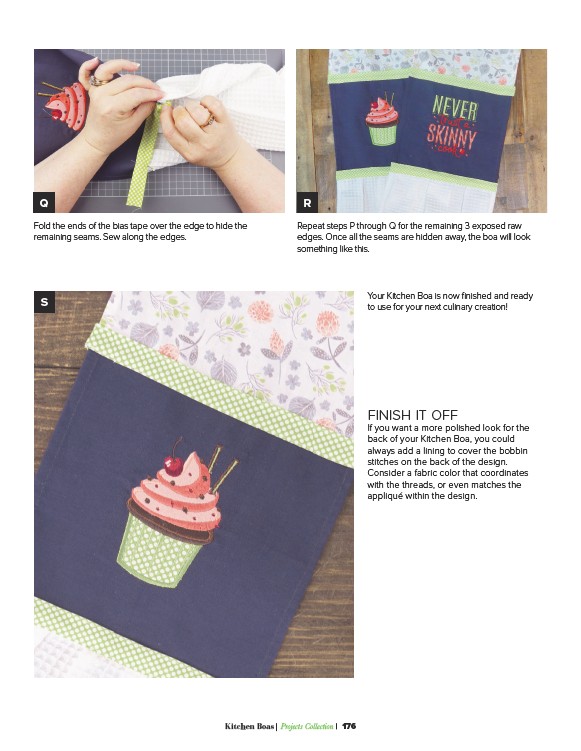
Your Kitchen Boa is now finished and ready
to use for your next culinary creation!
Q R
S
FINISH IT OFF
If you want a more polished look for the
back of your Kitchen Boa, you could
always add a lining to cover the bobbin
stitches on the back of the design.
Consider a fabric color that coordinates
with the threads, or even matches the
appliqué within the design.