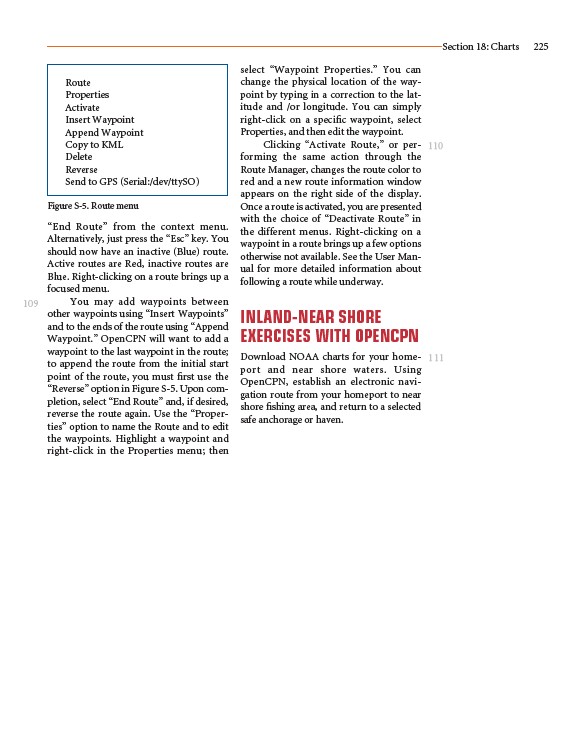
Figure S-5. Route menu
“End Route” from the context menu.
Alternatively, just press the “Esc” key. You
should now have an inactive (Blue) route.
Active routes are Red, inactive routes are
Blue. Right-clicking on a route brings up a
focused menu.
You may add waypoints between
other waypoints using “Insert Waypoints”
and to the ends of the route using “Append
Waypoint.” OpenCPN will want to add a
waypoint to the last waypoint in the route;
to append the route from the initial start
point of the route, you must first use the
“Reverse” option in Figure S-5. Upon completion,
select “End Route” and, if desired,
reverse the route again. Use the “Properties”
option to name the Route and to edit
the waypoints. Highlight a waypoint and
right-click in the Properties menu; then
select “Waypoint Properties.” You can
change the physical location of the waypoint
by typing in a correction to the latitude
and /or longitude. You can simply
right-click on a specific waypoint, select
Properties, and then edit the waypoint.
Clicking “Activate Route,” or performing
the same action through the
Route Manager, changes the route color to
red and a new route information window
appears on the right side of the display.
Once a route is activated, you are presented
with the choice of “Deactivate Route” in
the different menus. Right-clicking on a
waypoint in a route brings up a few options
otherwise not available. See the User Manual
for more detailed information about
following a route while underway.
INLAND-NEAR SHORE
EXERCISES WITH OPENCPN
Download NOAA charts for your homeport
and near shore waters. Using
OpenCPN, establish an electronic navigation
route from your homeport to near
shore fishing area, and return to a selected
safe anchorage or haven.
Section 18: Charts 225
109
110
111
Route
Properties
Activate
Insert Waypoint
Append Waypoint
Copy to KML
Delete
Reverse
Send to GPS (Serial:/dev/ttySO)