TWO TIMES THE FUN
This project is special in that it requires multiple hoopings to
complete, but we promise it is much easier than you think!
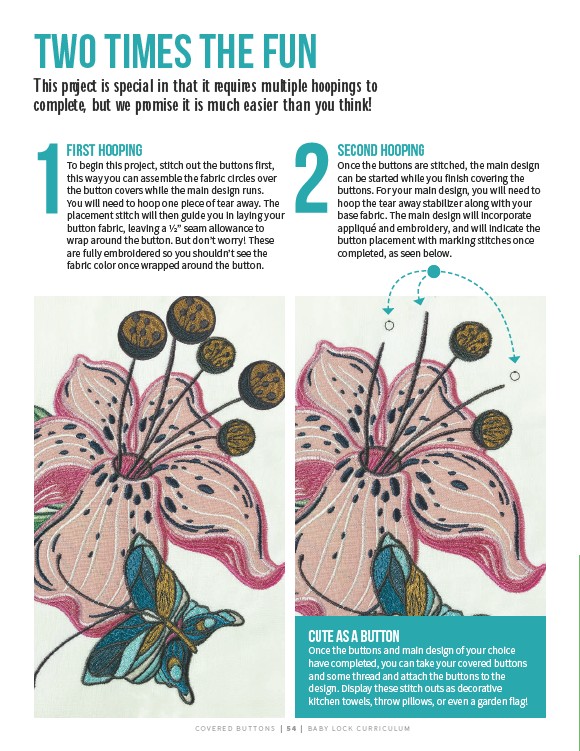
SECOND HOOPING
Once the buttons are stitched, the main design
can be started while you finish covering the
buttons. For your main design, you will need to
hoop the tear away stabilizer along with your
base fabric. The main design will incorporate
appliqué and embroidery, and will indicate the
button placement with marking stitches once
completed, as seen below.
CUTE AS A BUTTON
Once the buttons and main design of your choice
have completed, you can take your covered buttons
and some thread and attach the buttons to the
design. Display these stitch outs as decorative
kitchen towels, throw pillows, or even a garden flag!
FIRST HOOPING
To begin this project, stitch out the buttons first,
this way you can assemble the fabric circles over
the button covers while the main design runs.
You will need to hoop one piece of tear away. The
placement stitch will then guide you in laying your
button fabric, leaving a 1/2” seam allowance to
wrap around the button. But don’t worry! These
are fully embroidered so you shouldn’t see the
fabric color once wrapped around the button.
COV E R E D B U T TONS | 5 4 | BABY LO C K CU R R I CULUM