M N
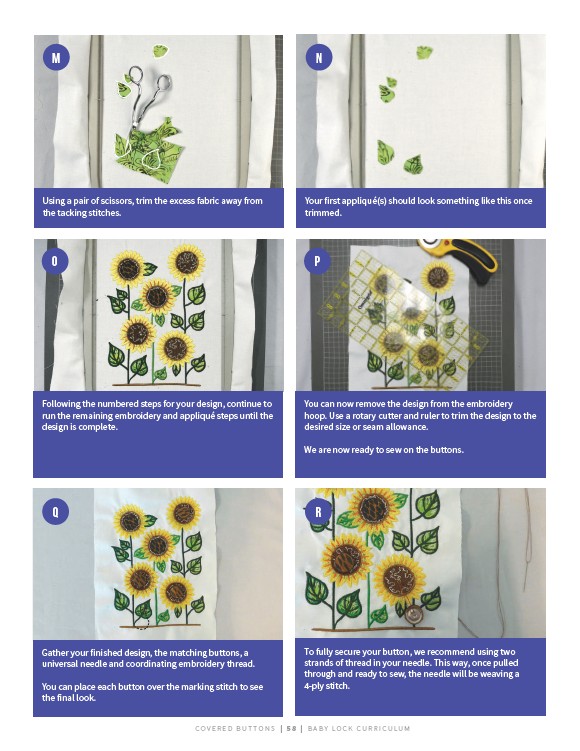
Using a pair of scissors, trim the excess fabric away from
the tacking stitches.
Your first appliqué(s) should look something like this once
trimmed.
O P
Following the numbered steps for your design, continue to
run the remaining embroidery and appliqué steps until the
design is complete.
You can now remove the design from the embroidery
hoop. Use a rotary cutter and ruler to trim the design to the
desired size or seam allowance.
We are now ready to sew on the buttons.
Q R
Gather your finished design, the matching buttons, a
universal needle and coordinating embroidery thread.
You can place each button over the marking stitch to see
the final look.
To fully secure your button, we recommend using two
strands of thread in your needle. This way, once pulled
through and ready to sew, the needle will be weaving a
4-ply stitch.
COV E R E D B U T TONS | 5 8 | BABY LO C K CU R R I CULUM